Image Gallery Management
Image gallery management is a crucial part of maintaining the product pages. This document outlines the process of managing the image gallery for a product on the Shopify store.
Overview
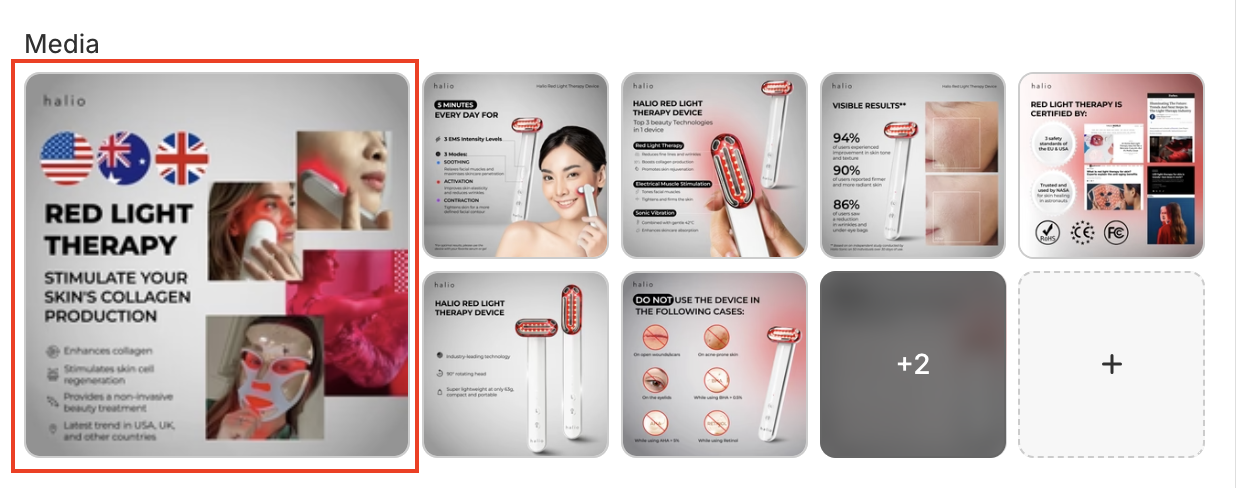
Image gallery and the admin interface are two key components of the image gallery management process. The image gallery is the collection of images that are displayed on the product page. The admin interface is the backend interface where the images are uploaded and managed. The following illustration shows the image gallery and the admin interface.

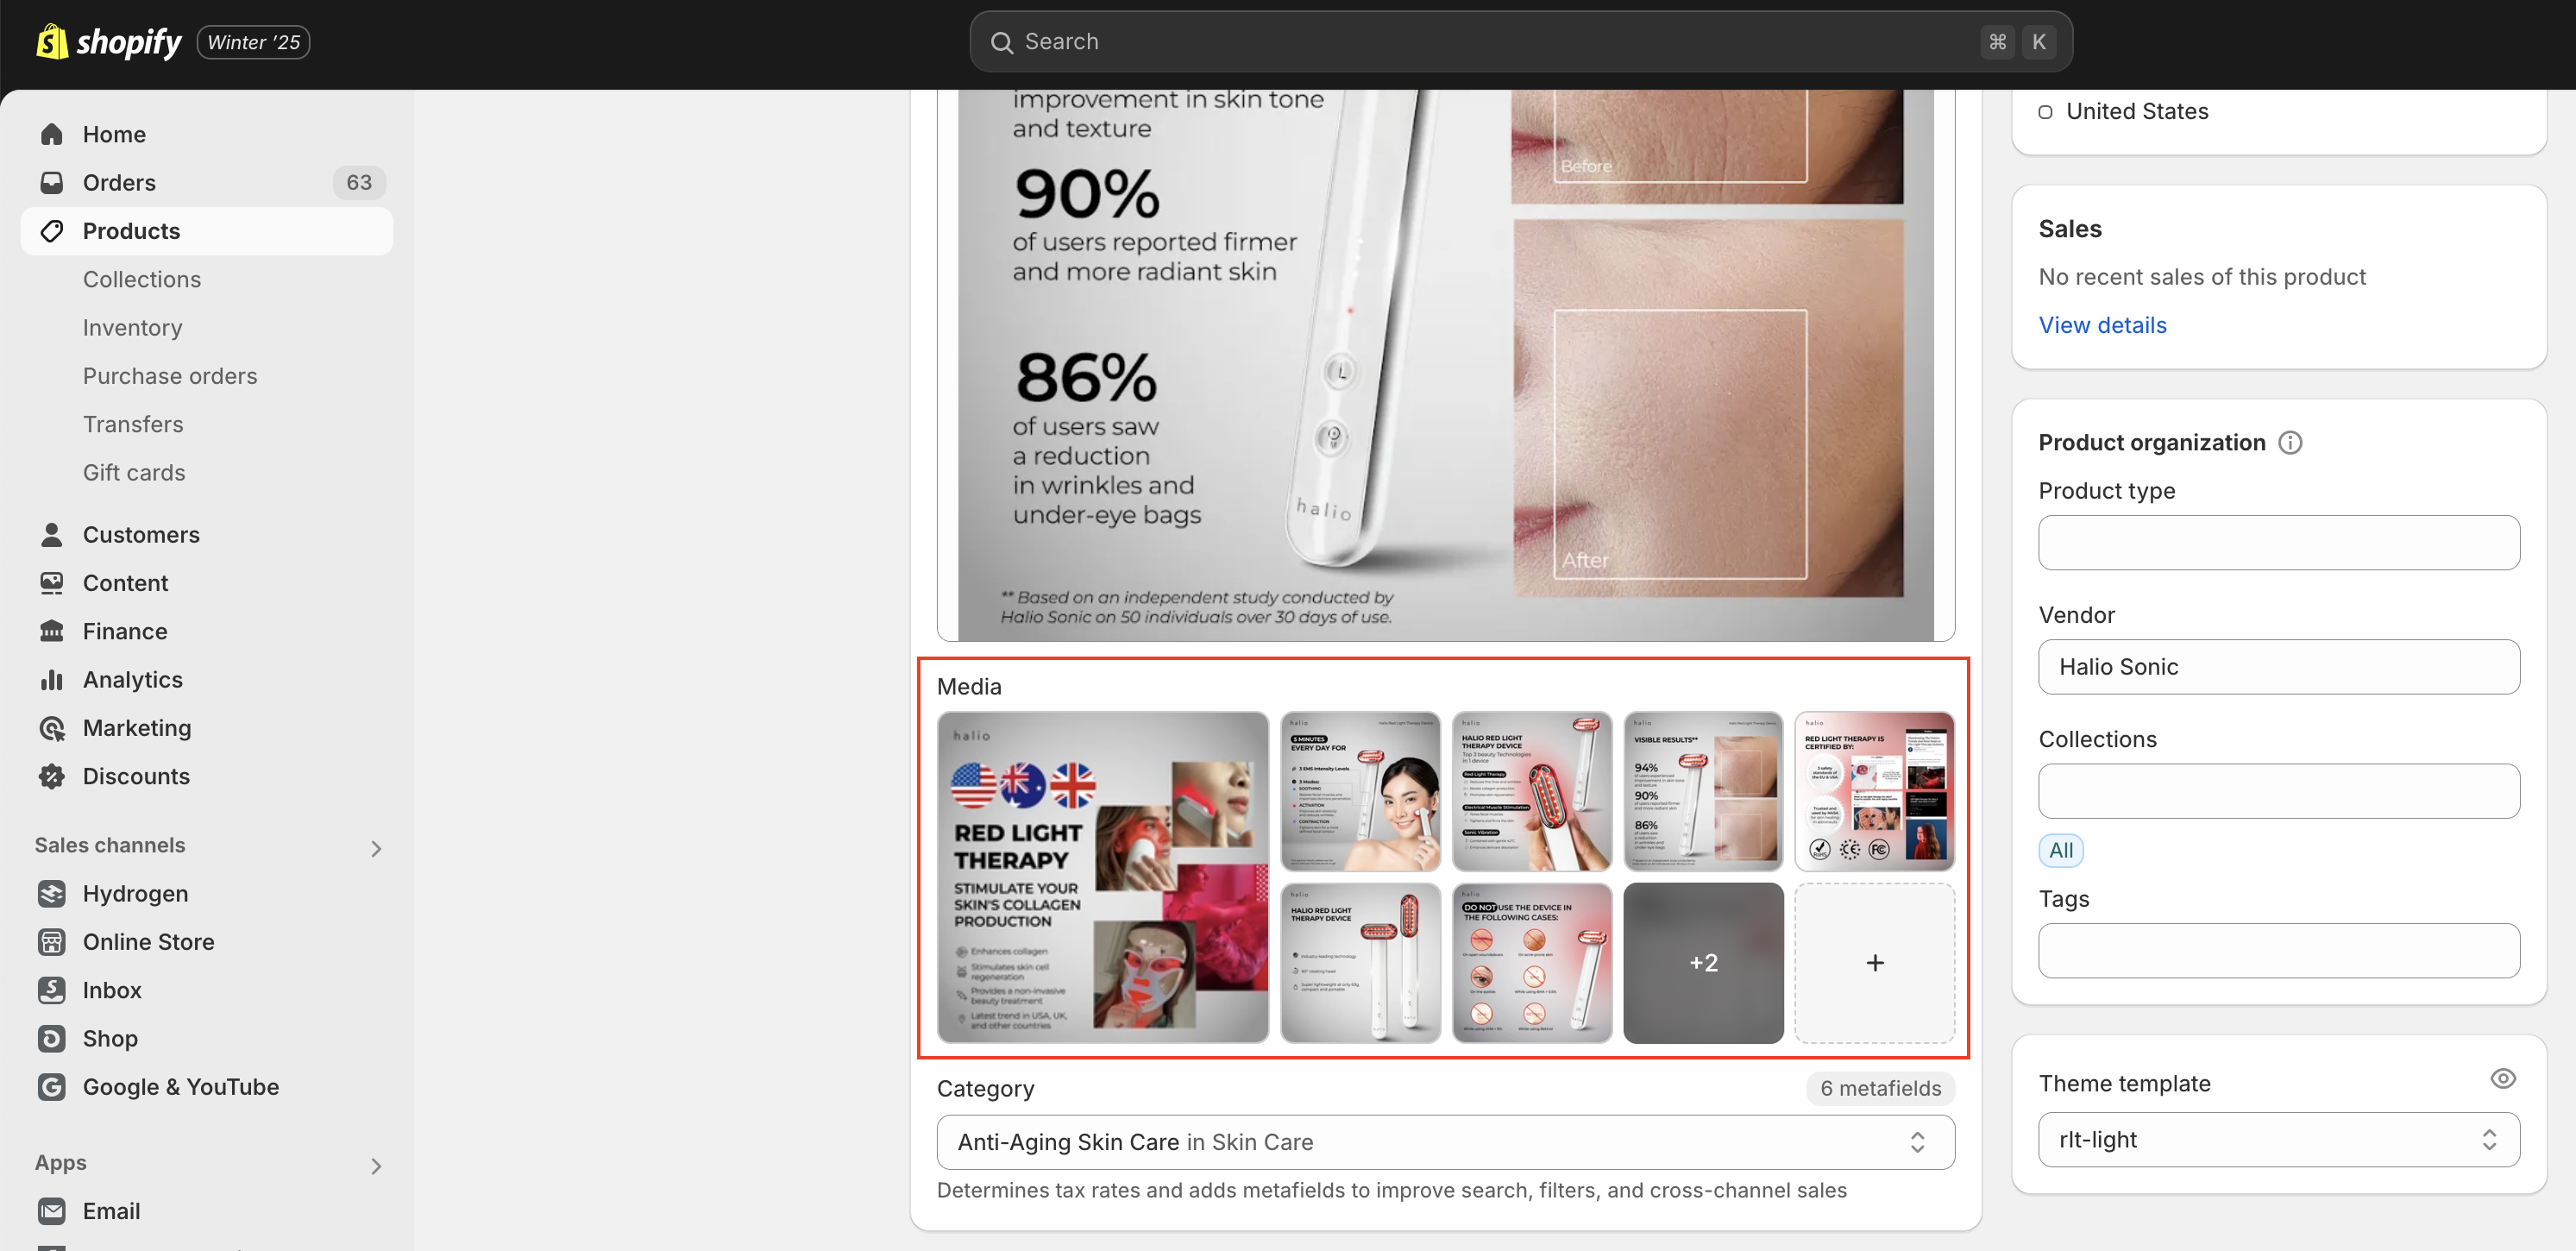
Managing the image gallery involves the following steps:
- Preparing the images for the gallery
- Uploading the images to the admin interface
- Arranging the images in the desired order
- Removing or replacing images as needed
Step 1: Prepare the Images
Image preparation guidelines outline the steps involved in preparing the images for the gallery.
Specification for each image in the gallery:
- Resolution: 3840x3840 px
- Format: WebP
Step 2: Upload the Images
To upload the images to the admin interface, follow these steps:
- Go to Shopify Admin Panel and Login.
- Navigate to the product you want to manage the gallery for.
- Scroll down to the "Media" section.
- Click on the "+" button to upload the images.
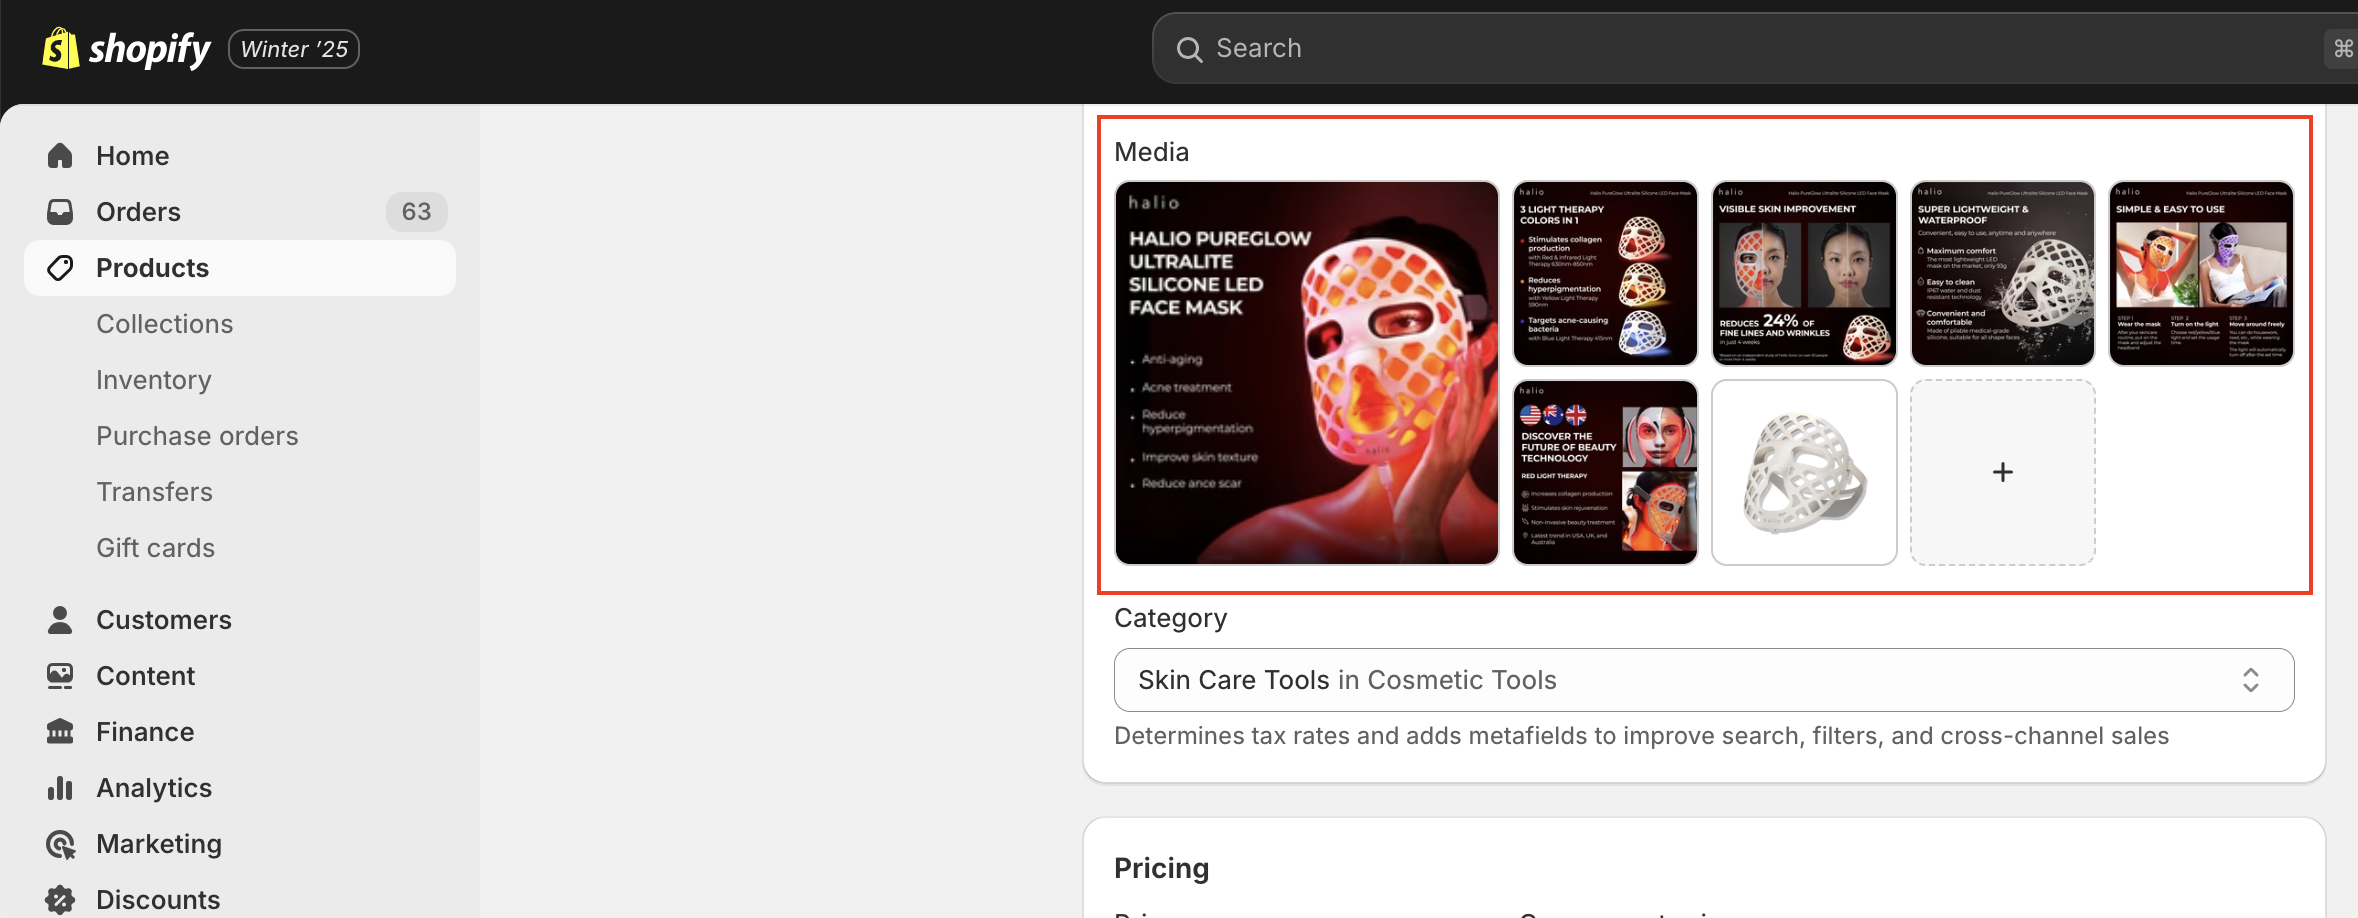
- Once uploaded, select the image to set on the gallery.
- Click on the newly uploaded image to edit the meta fields and update the image meta ("Name" and "Alt Text").
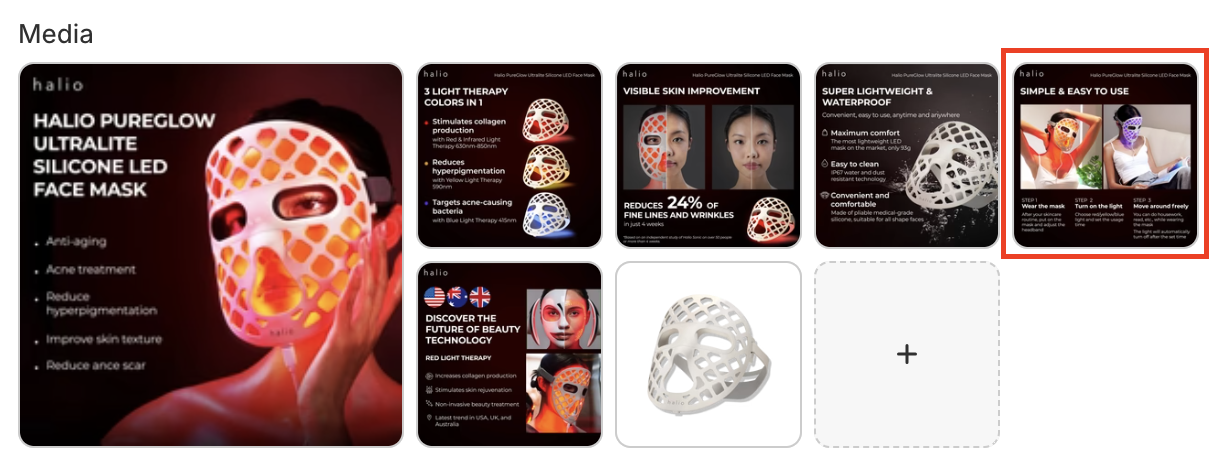
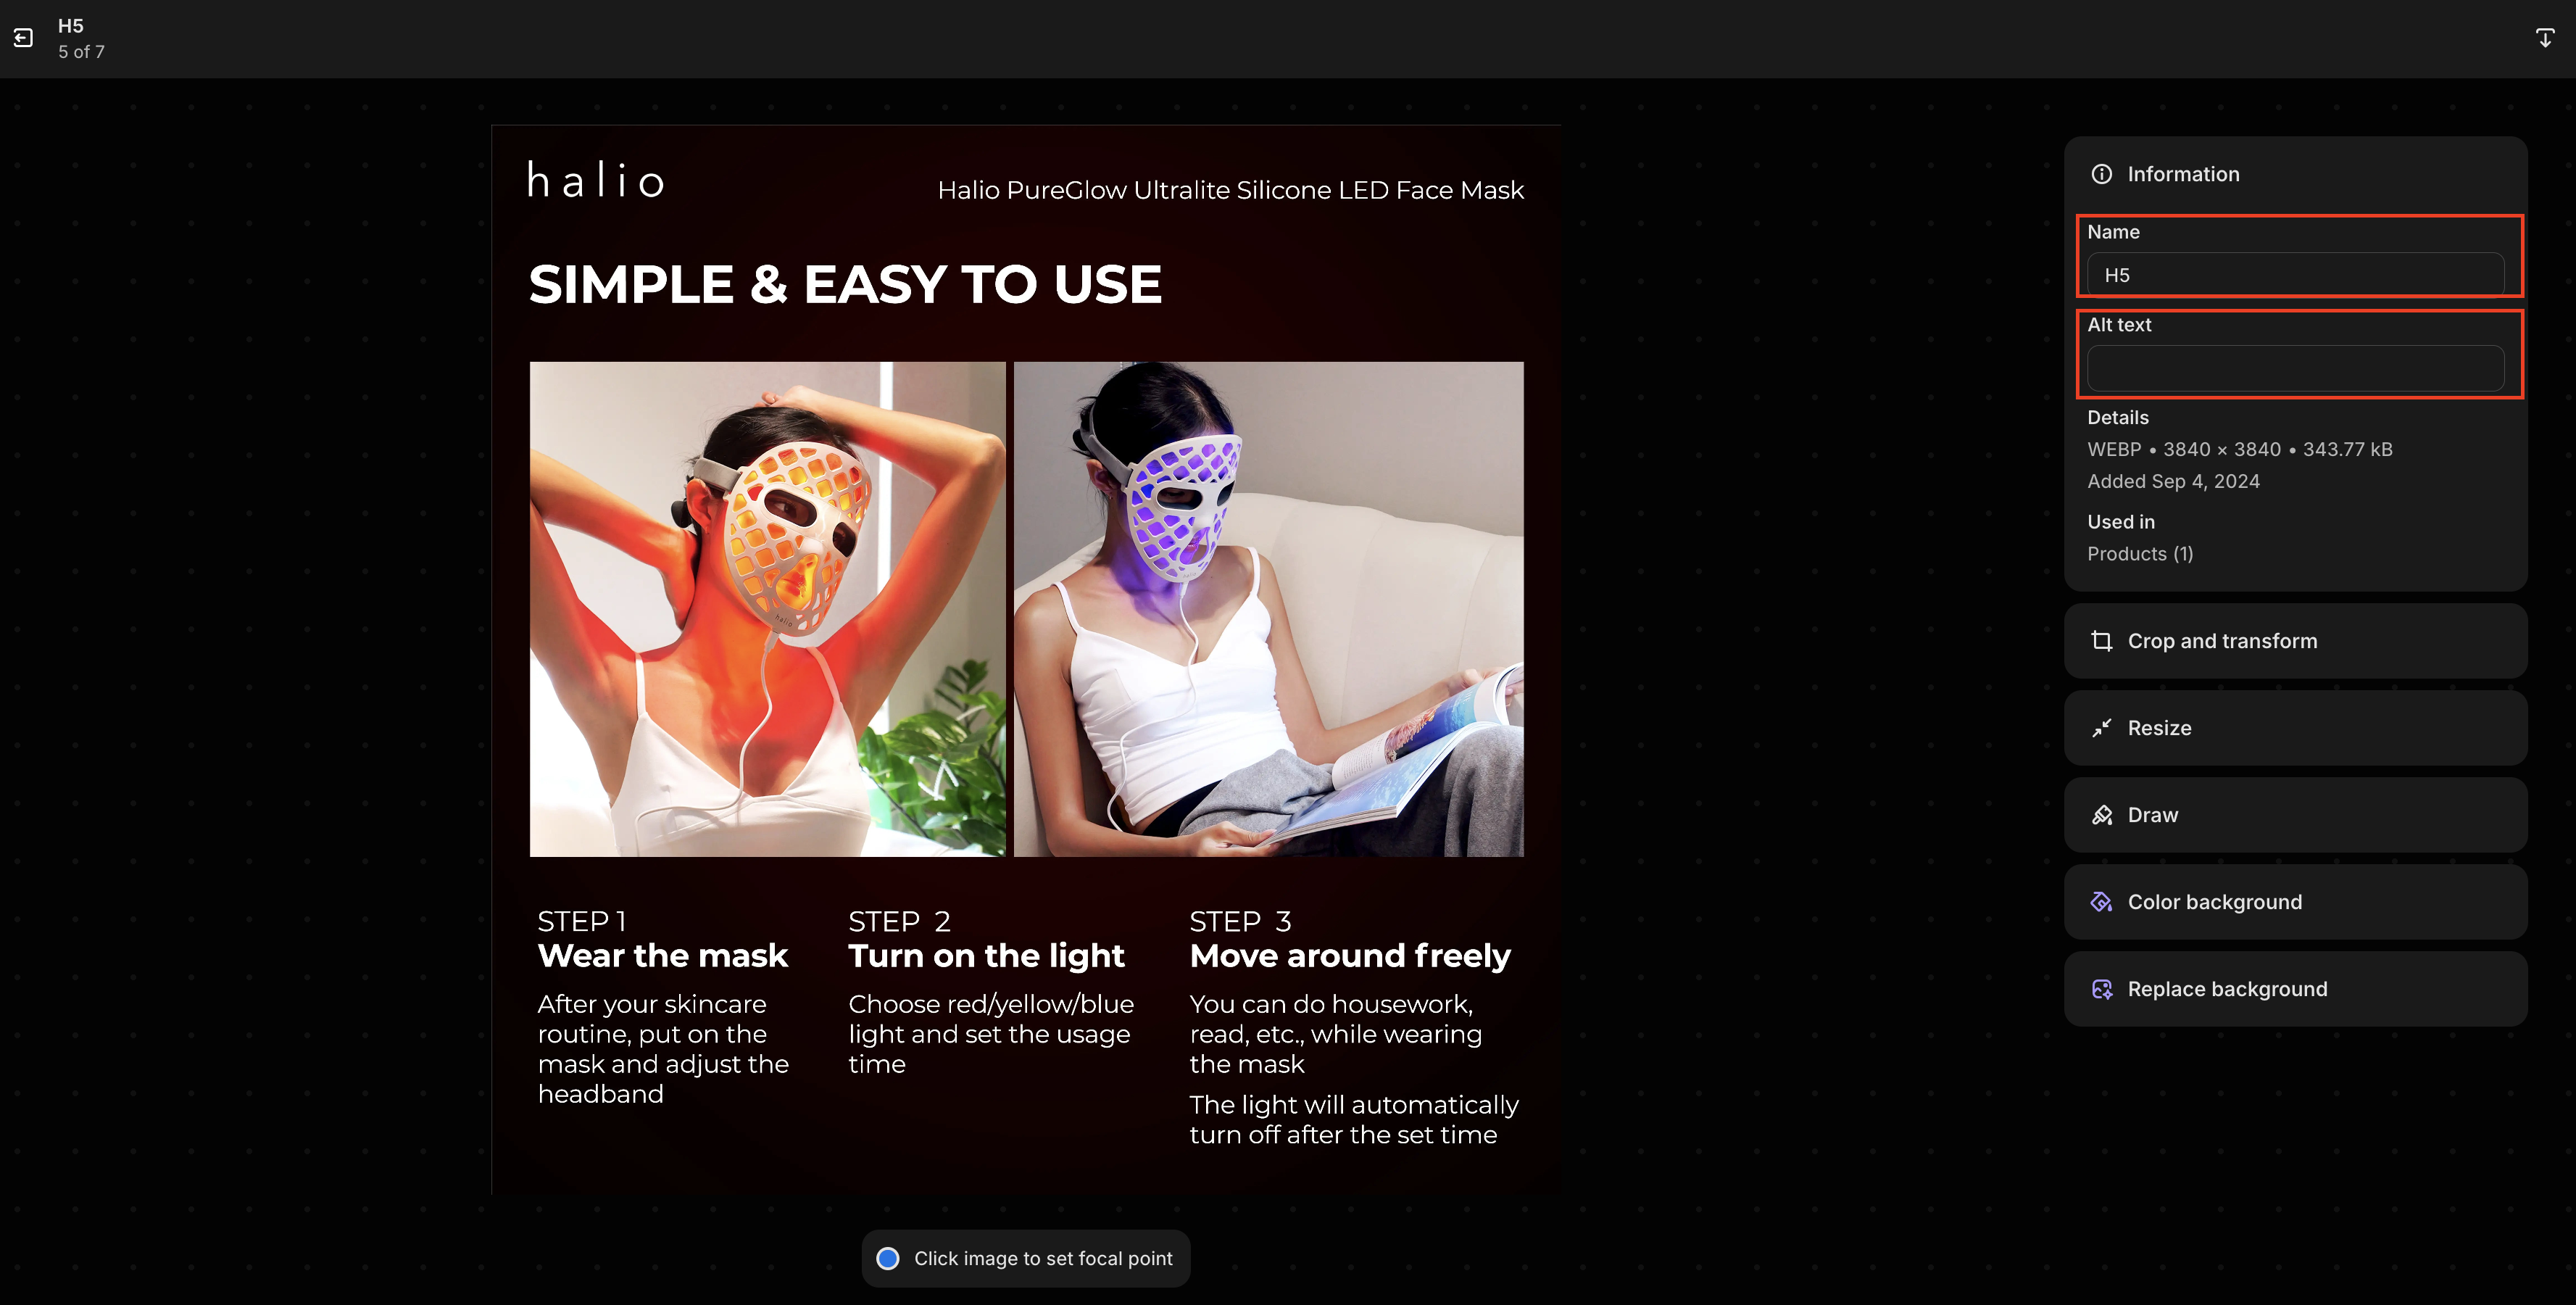
Image preparation guidelines outlines further details on image meta fields.
Step 3: Arrange the Images
Drag and drop the images in the admin interface to arrange them in the desired order.
First image in the gallery is the primary product image and will be displayed as the cover image and thumbnail
Step 4: Remove or Replace Images
To remove or replace images in the gallery, follow these steps:
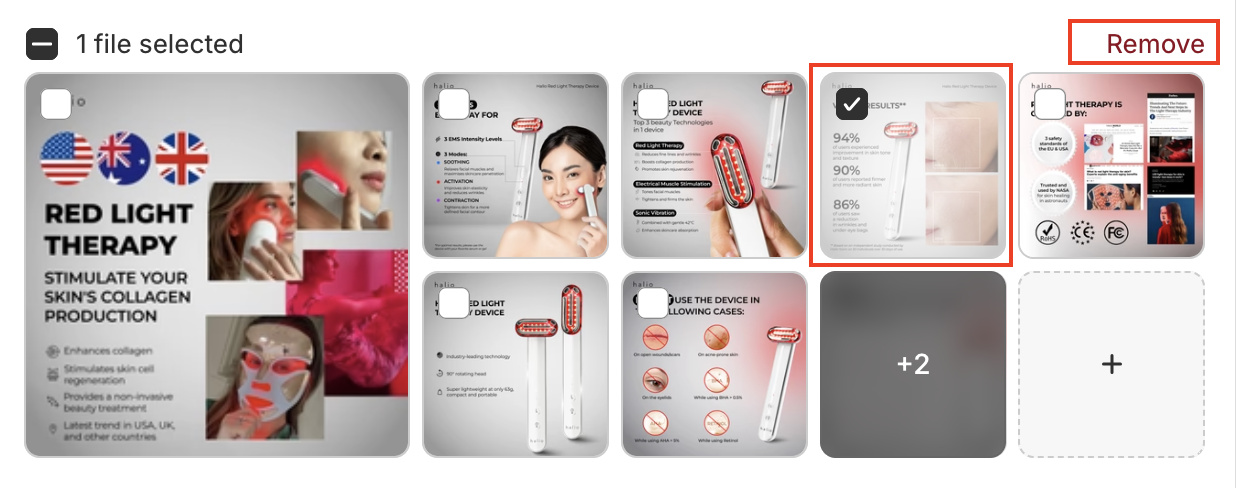
- Click and check the image you want to remove or replace.
- Click on the "Delete" button to remove the image.
- Now you can upload a new image to replace the removed image as per the uploading images step.