Product Page Layout Migration
Overview
On 2024, as a part of the Halio Sonic website revamp, we released two new product page layouts.
- Dark Theme (id:
red-light-therapy): A dark-themed layout that is designed to provide a modern and sleek look and to highlight the Red Light Therapy product line. - Light Theme (id:
rlt-light): A light-themed layout that is suitable for more general products and provides a clean and minimalistic look.
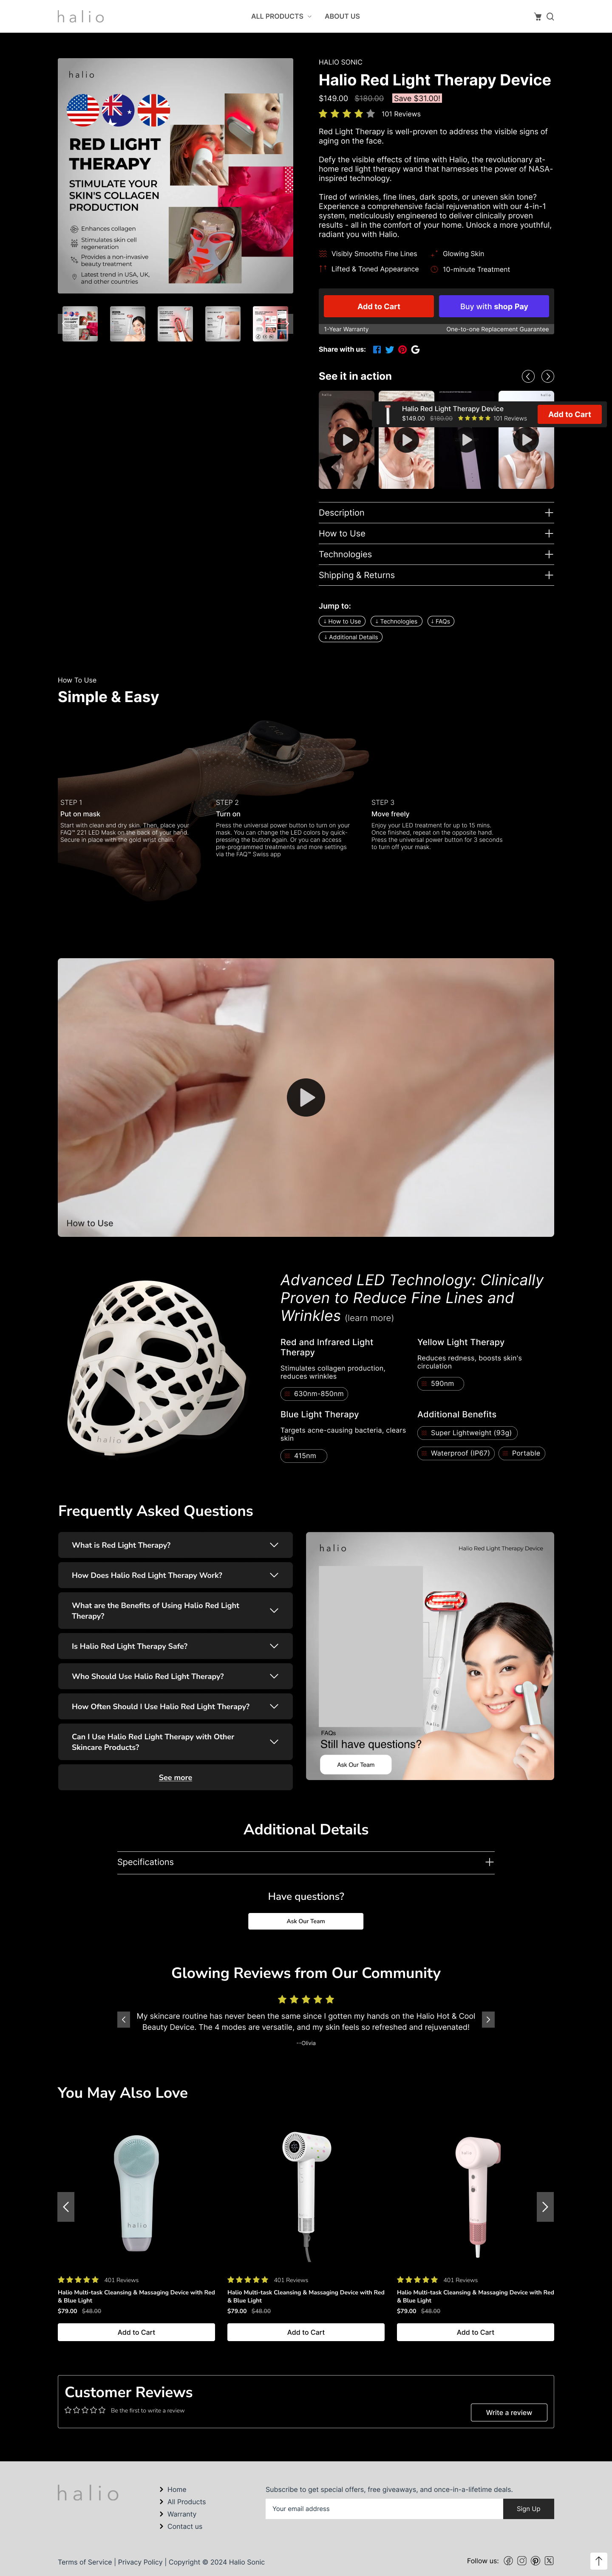
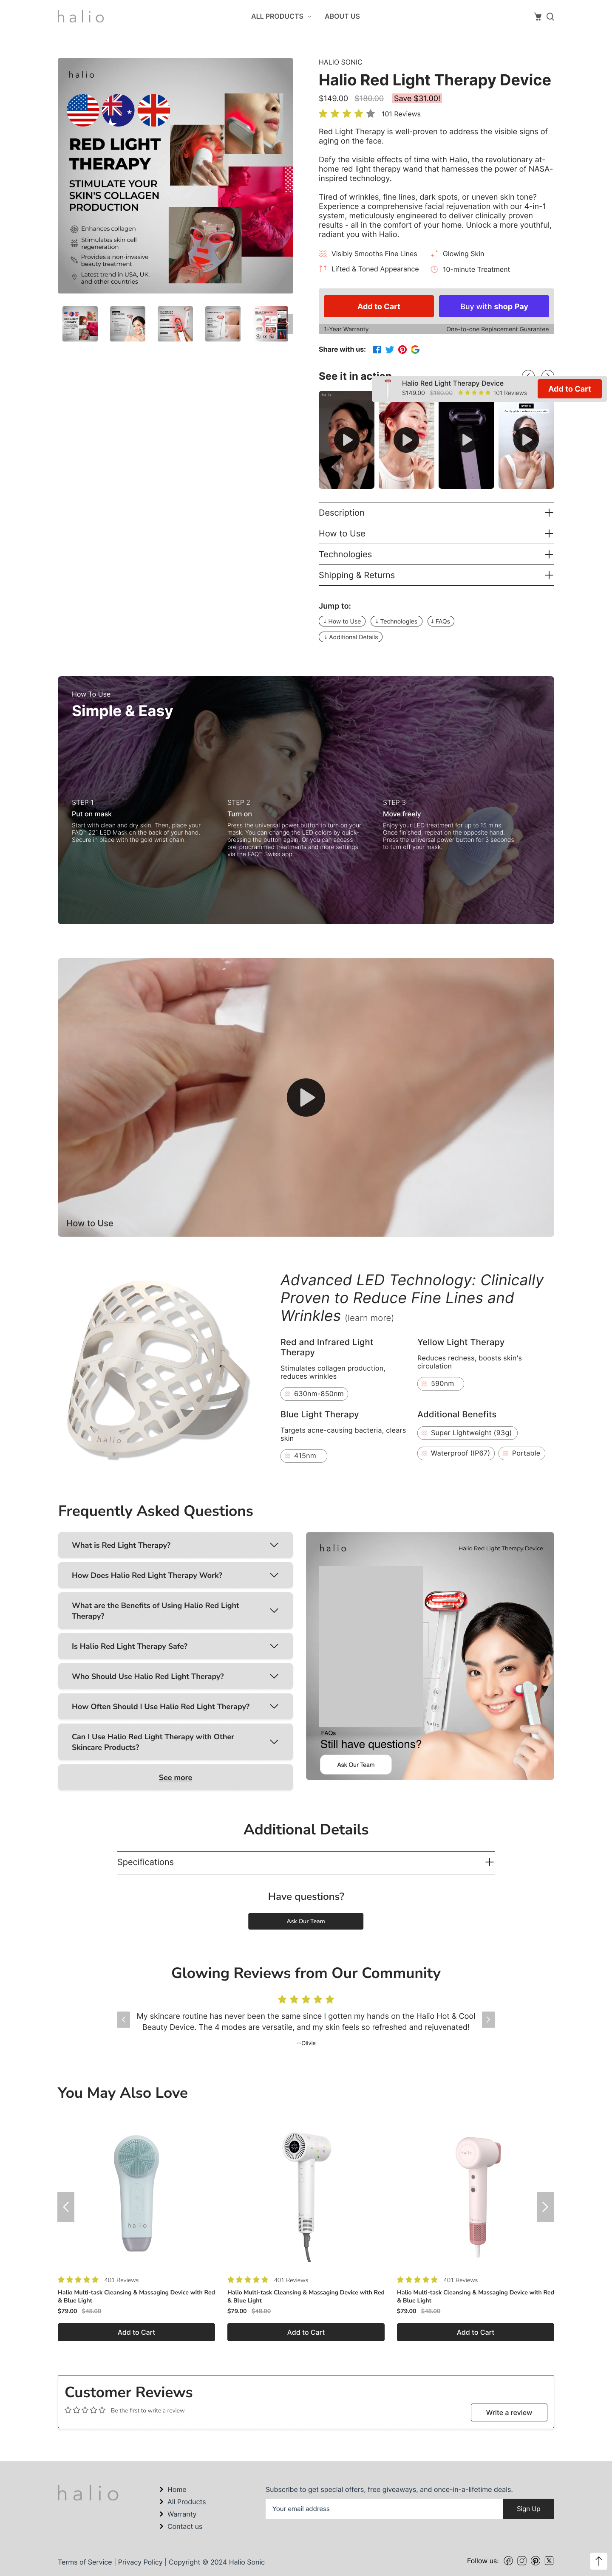
The new layout supports a variety of features (see below) to enrich the product page with assistive content and to improve the overall user experience.
As of December 18th, 2024, 2 SKUs (HRT, HRM) have been migrated to the new layout. The remaining SKUs will be migrated in the upcoming weeks. This document provides guidelines for the migration process.
First, let's get familiar with the new layout features.
Features in the New Layouts
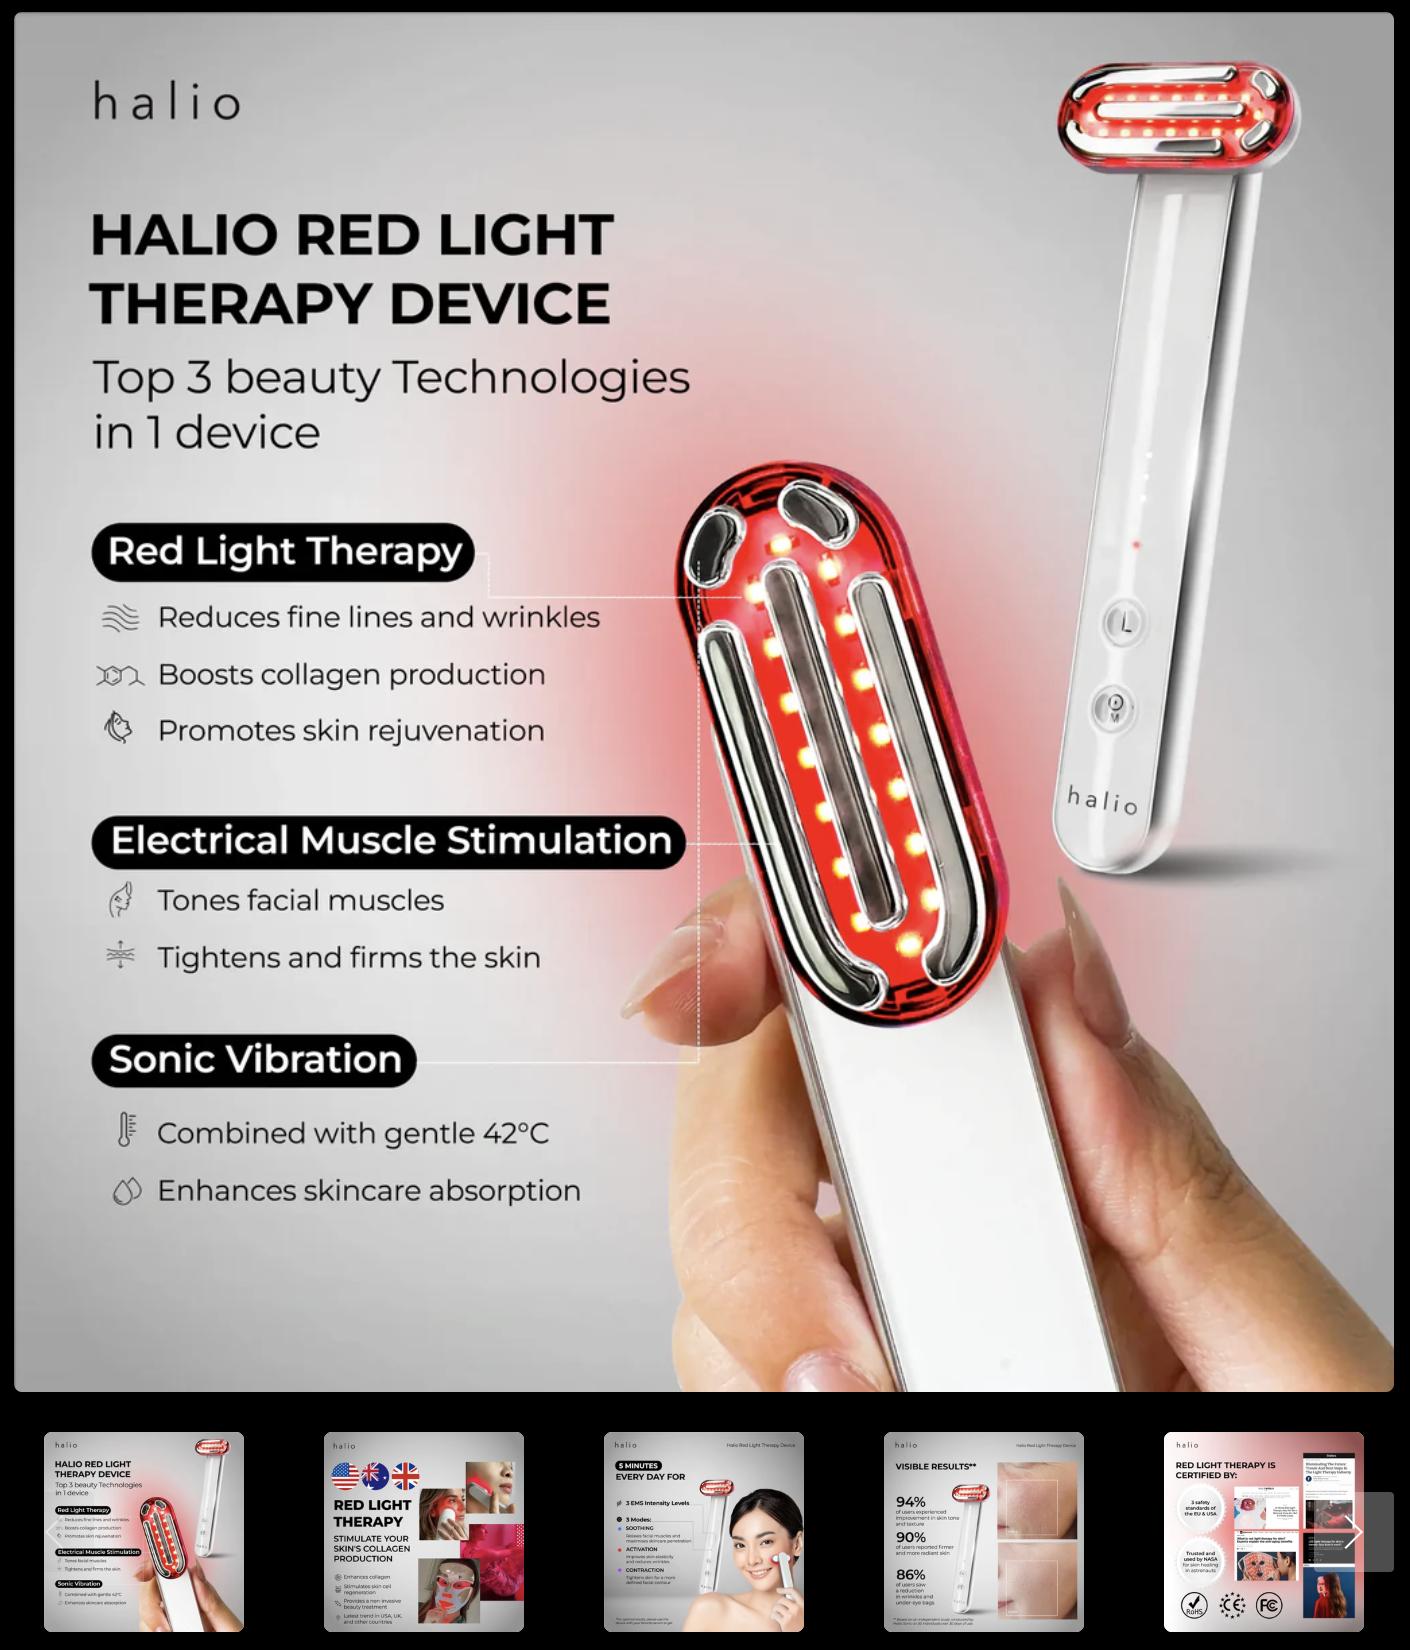
Image gallery with zoom and autofollow
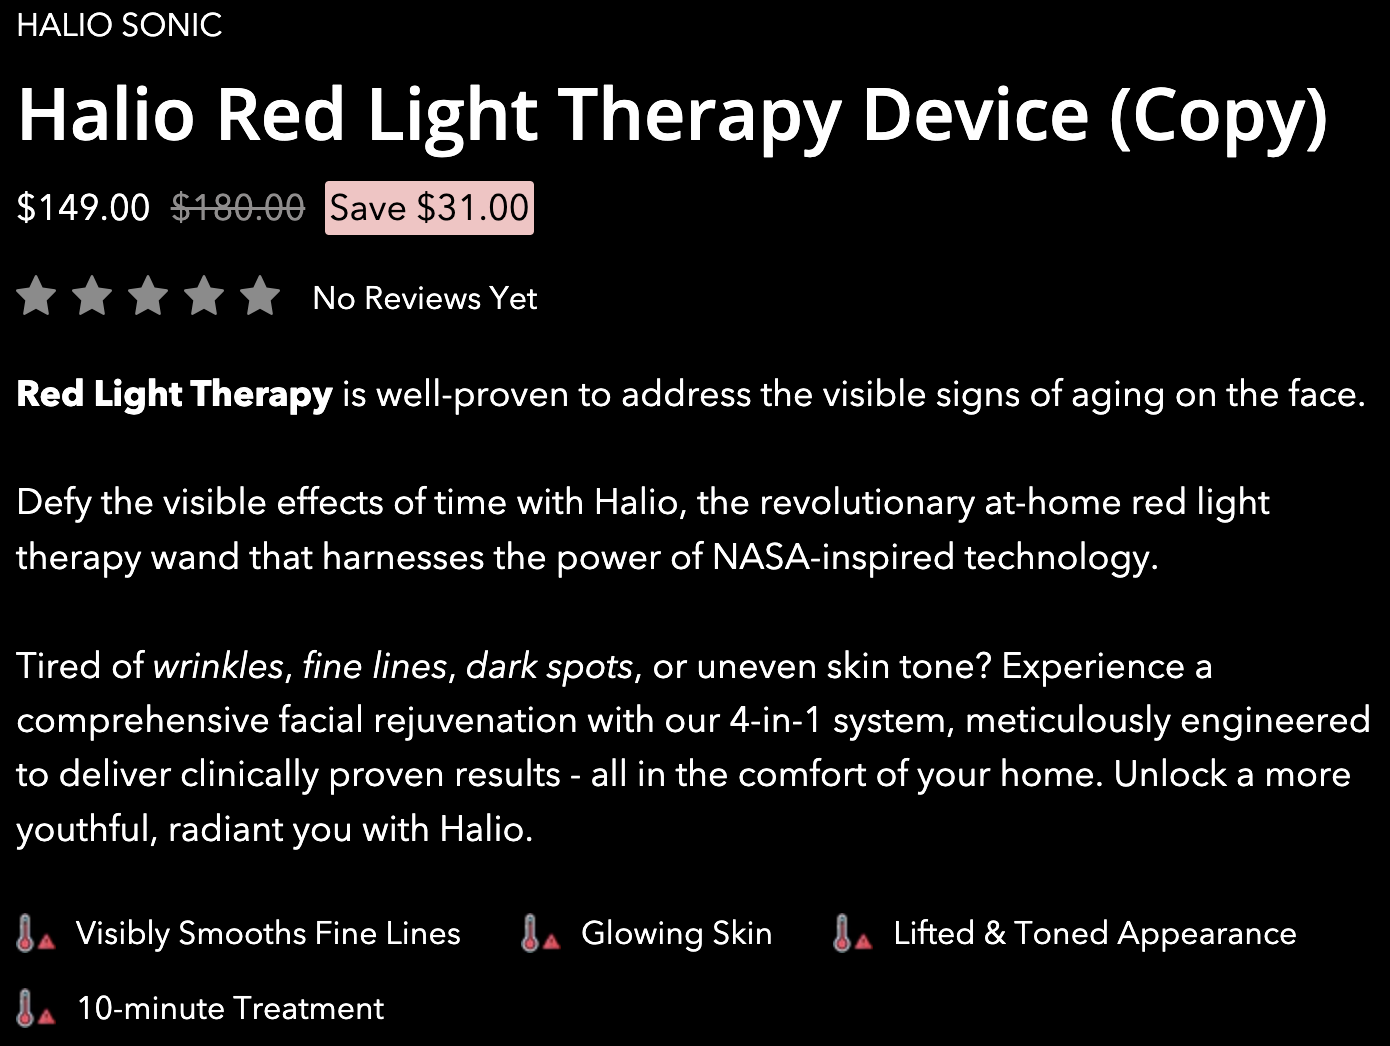
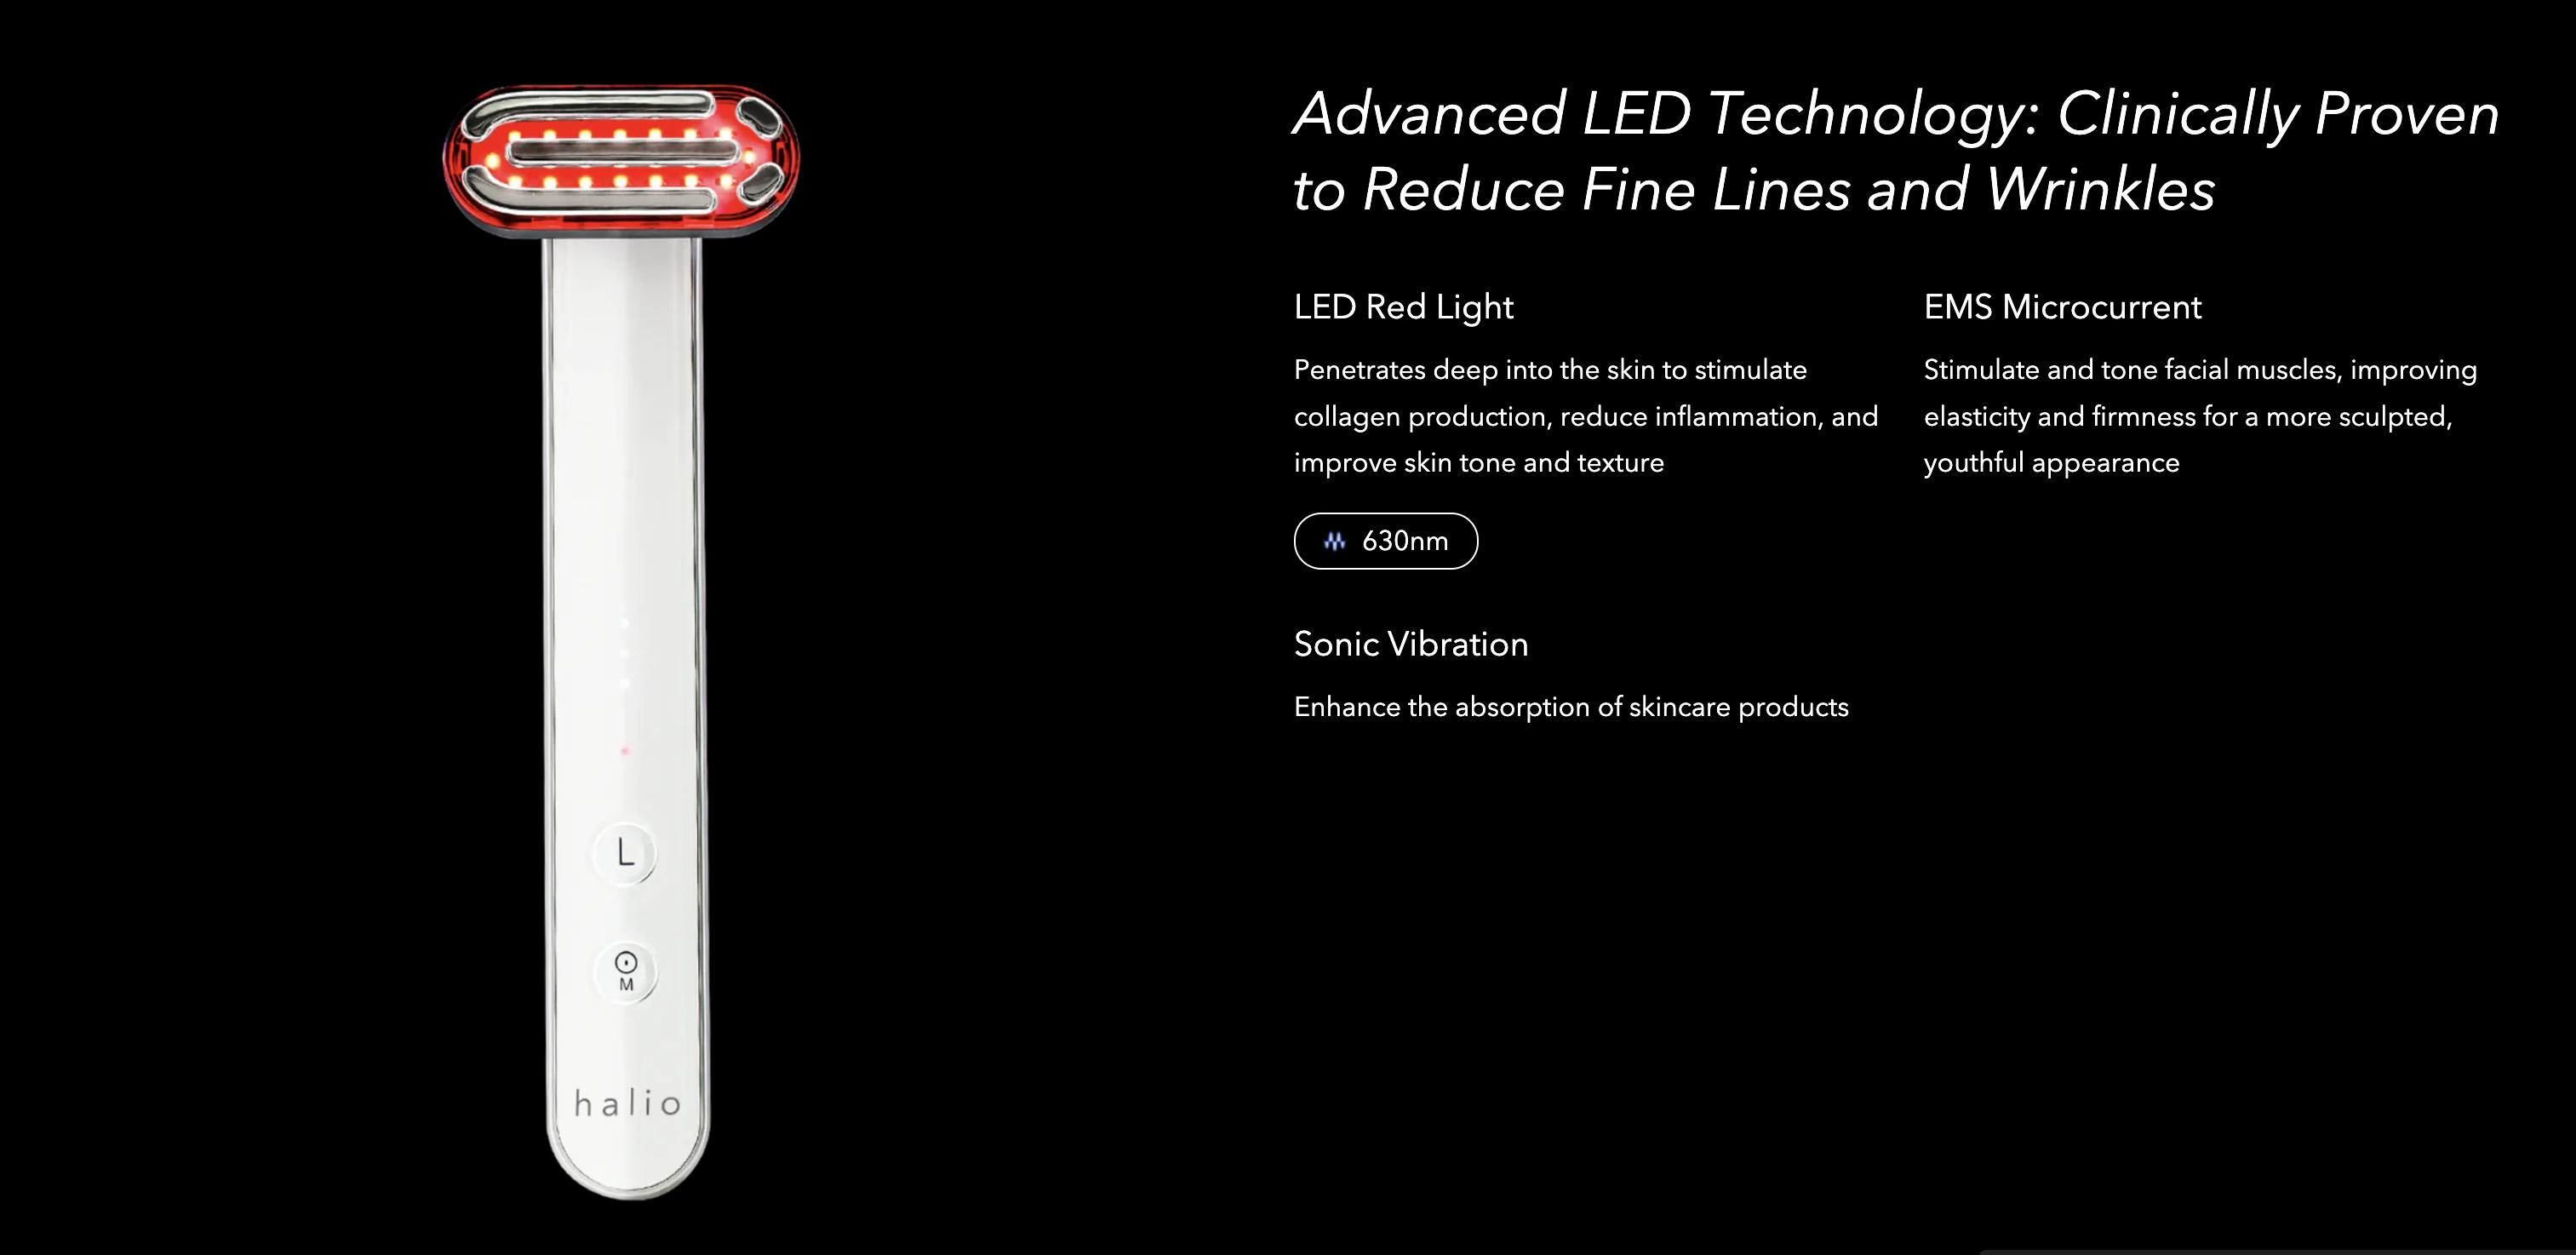
Product info and KSP brief
ATC with suggestive hints

Sticky ATC

Shareable product link

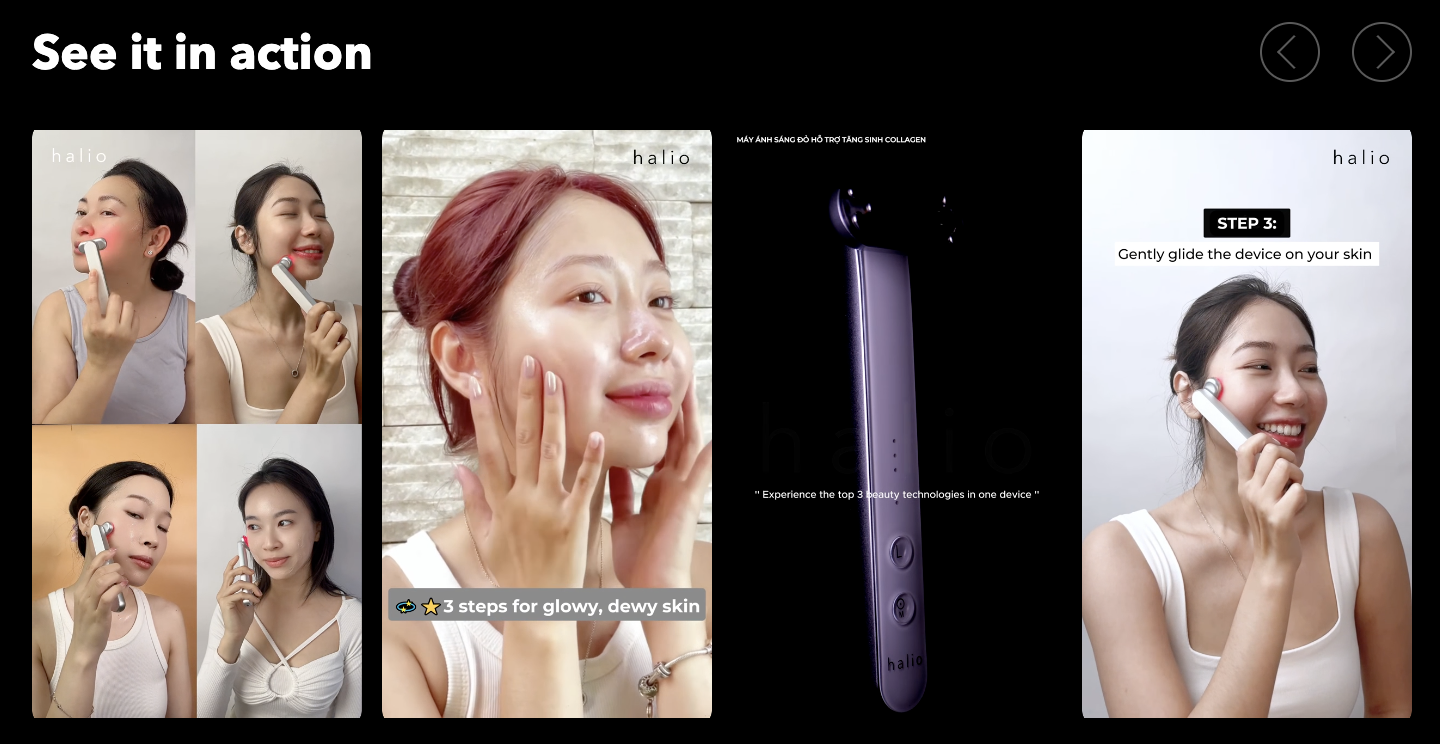
See in action video gallery
Expandable product info tabs
"Jump to section" navigation

"How to use" video
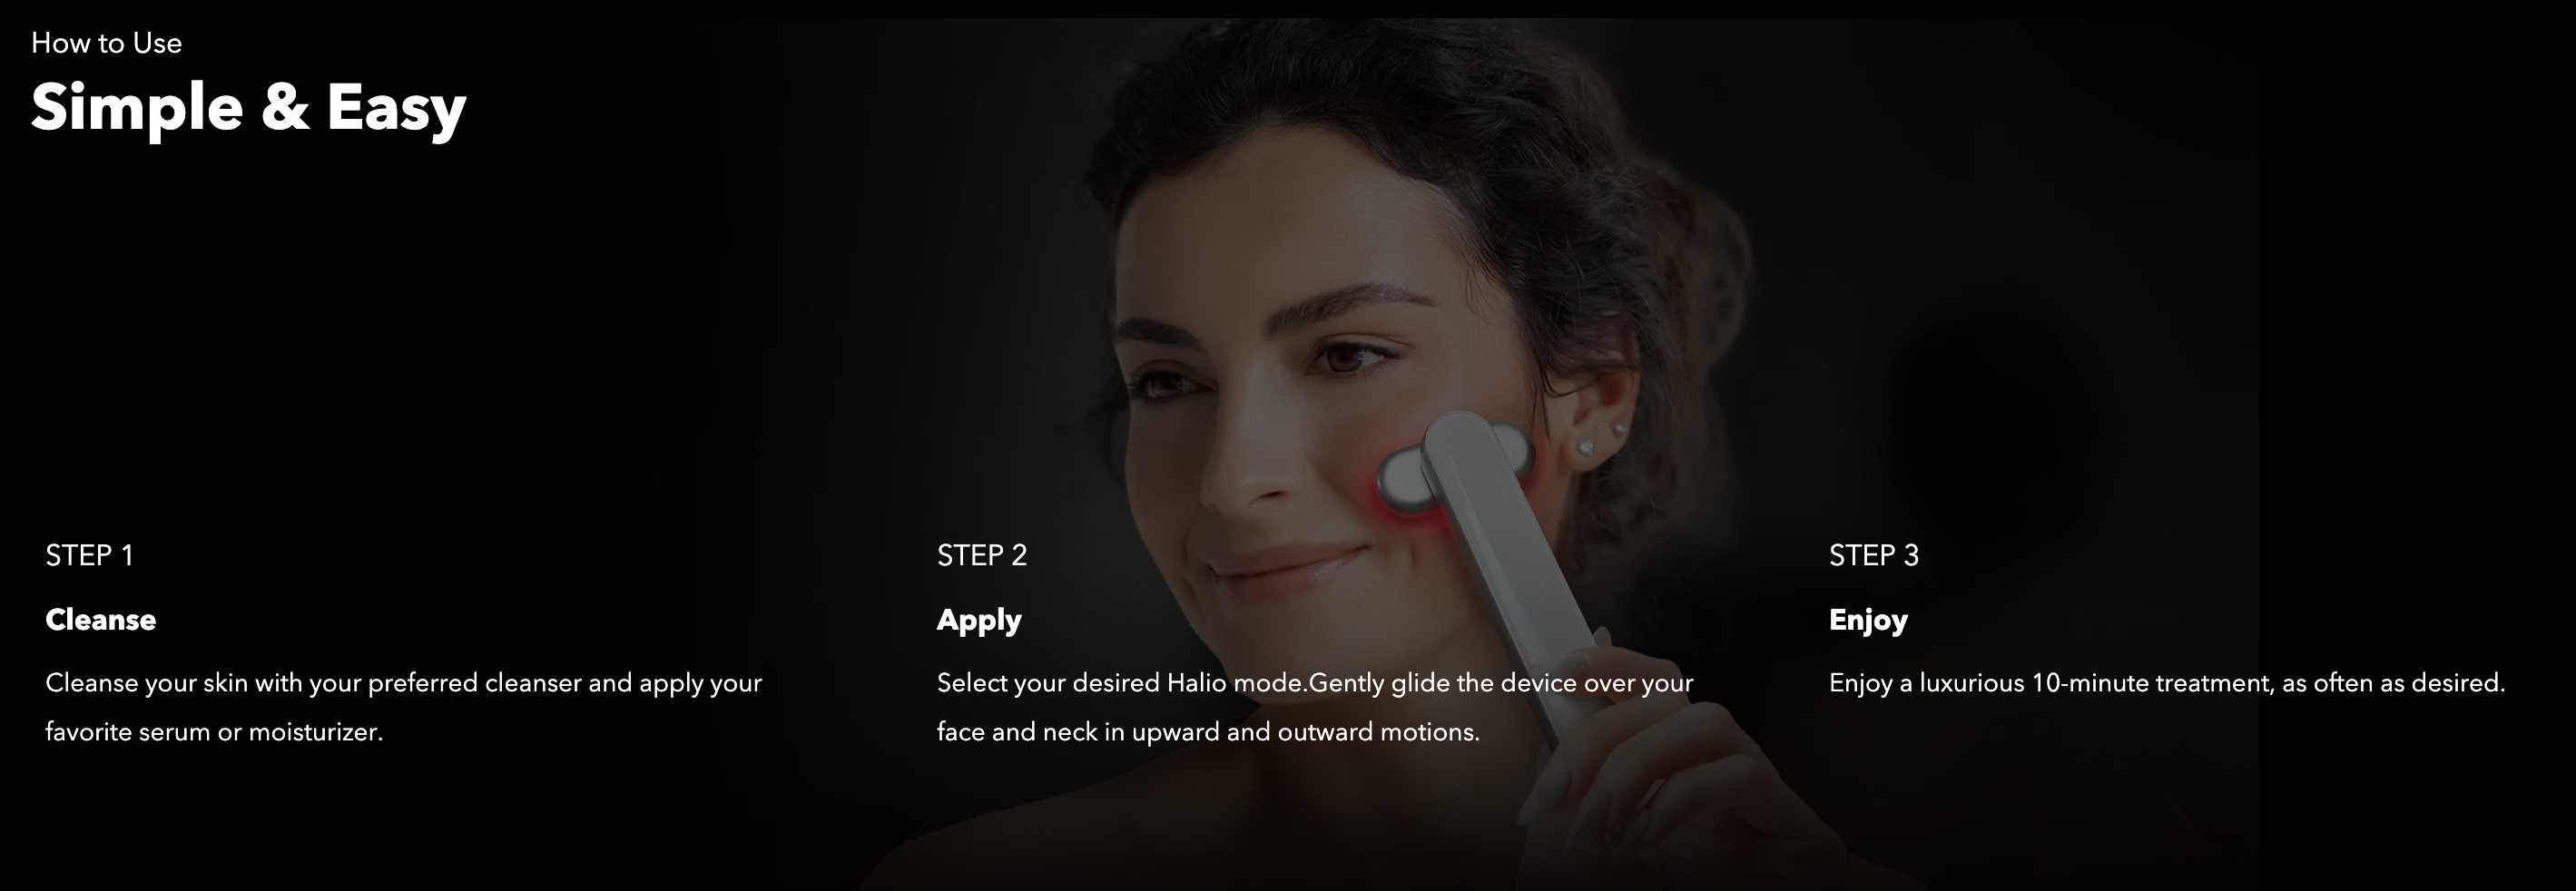
"How to use" steps with background image
KSP section with tagline and KSP highlights
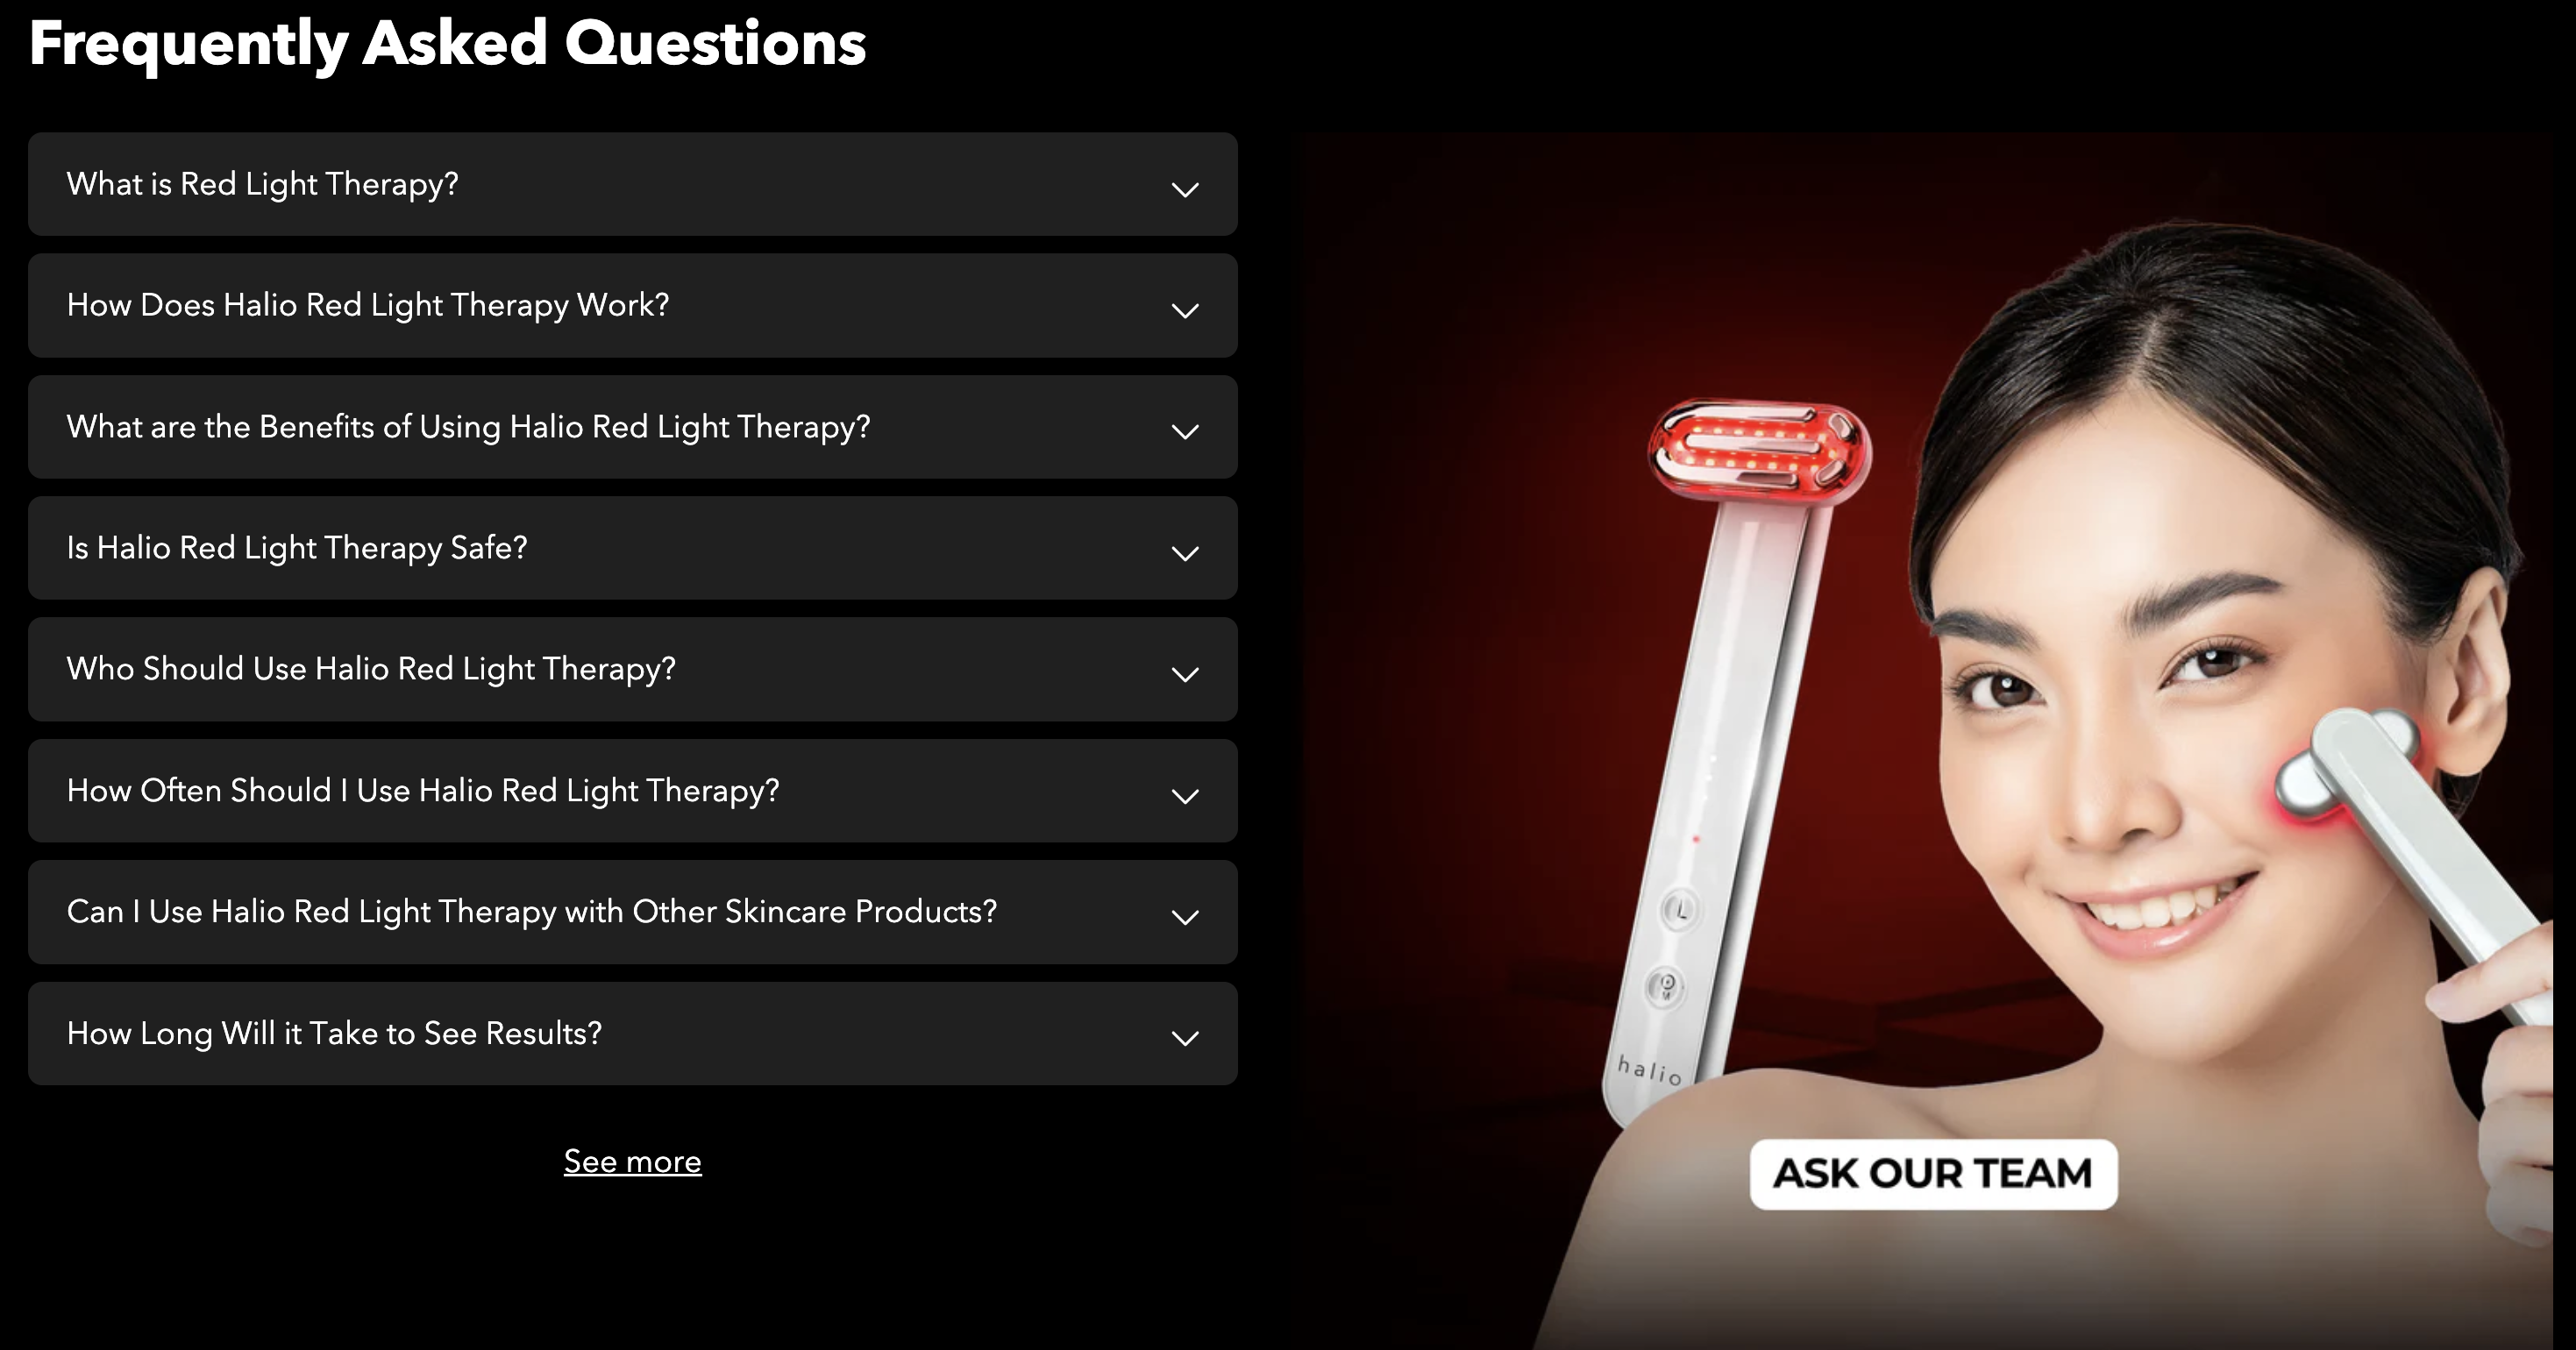
Expandable FAQ section with rich text and image
Additional details section with expandable rich text blocks

CS contact link
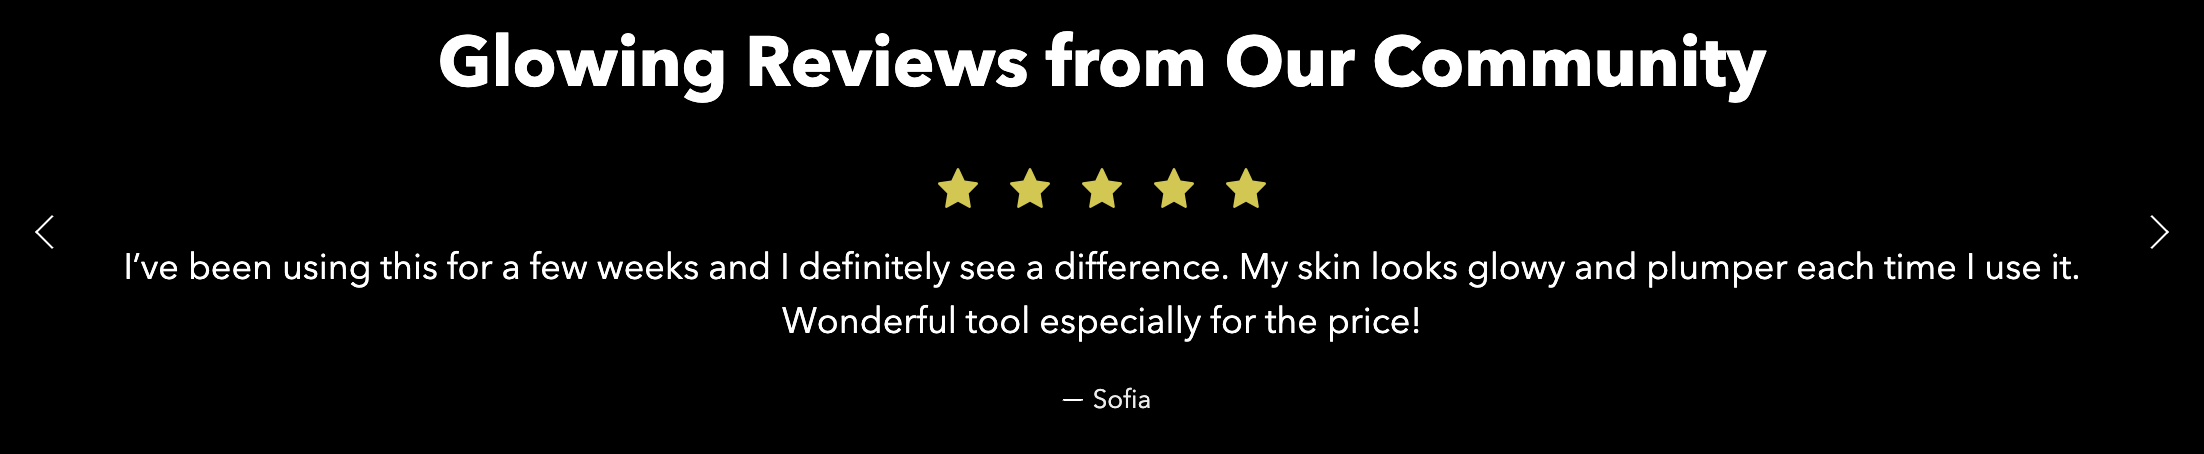
Testimonial highlights
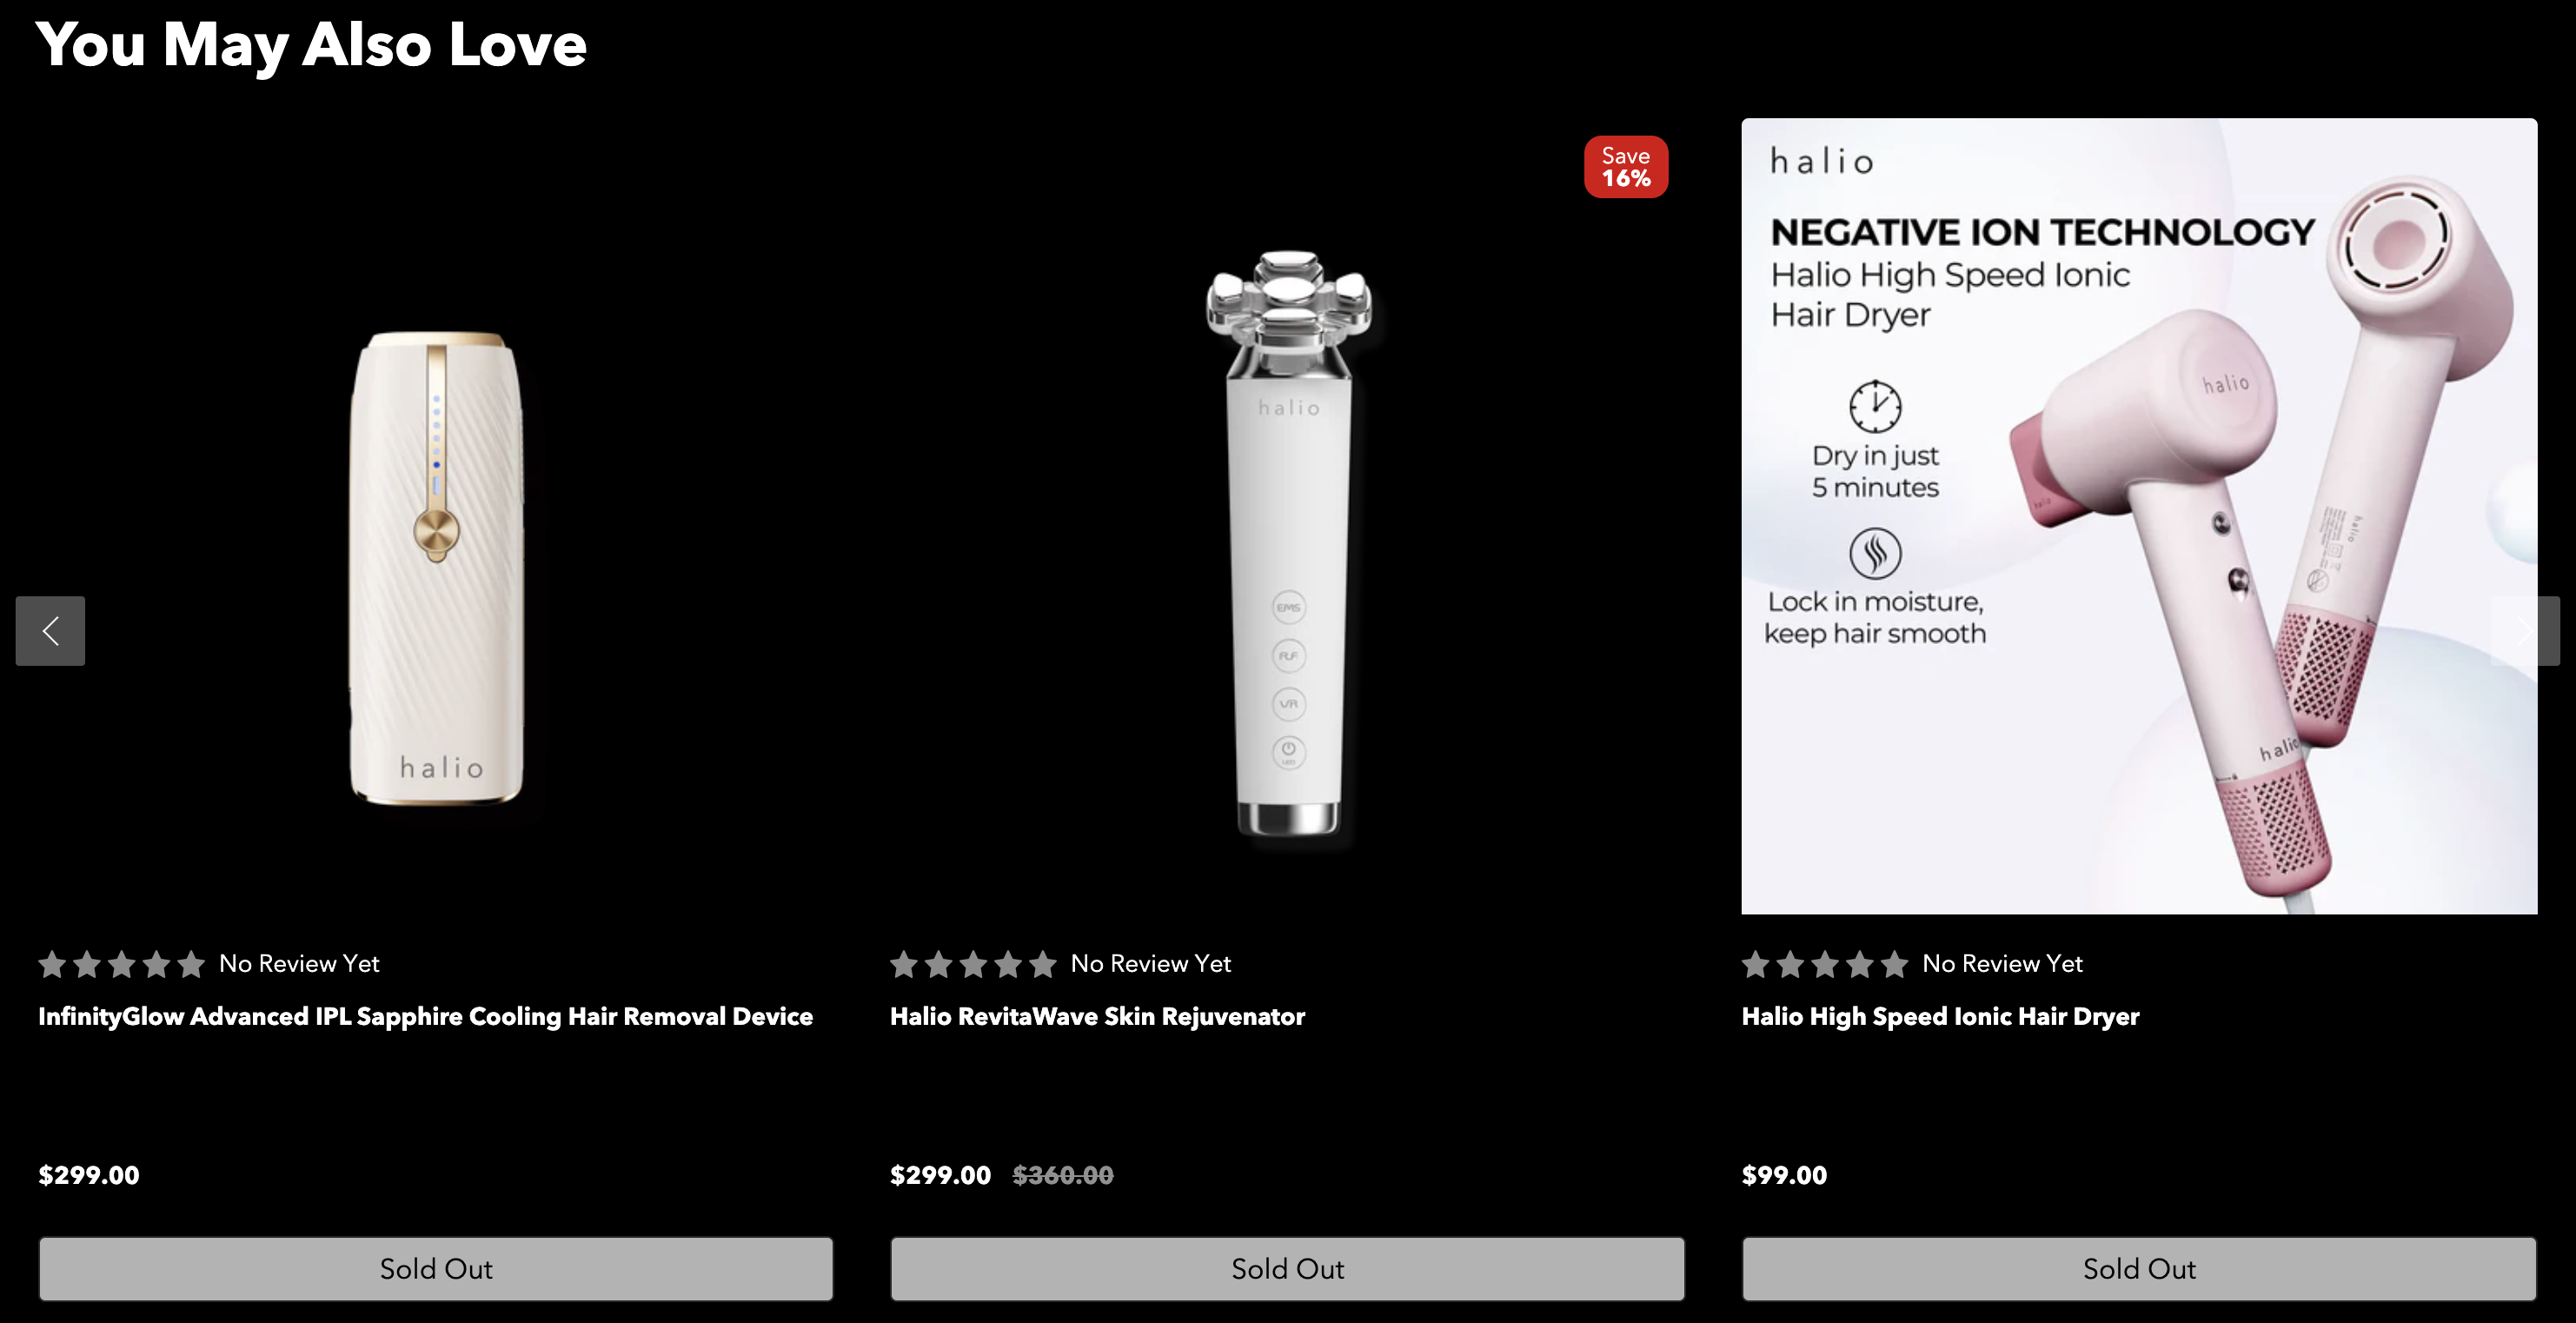
Related products carousel
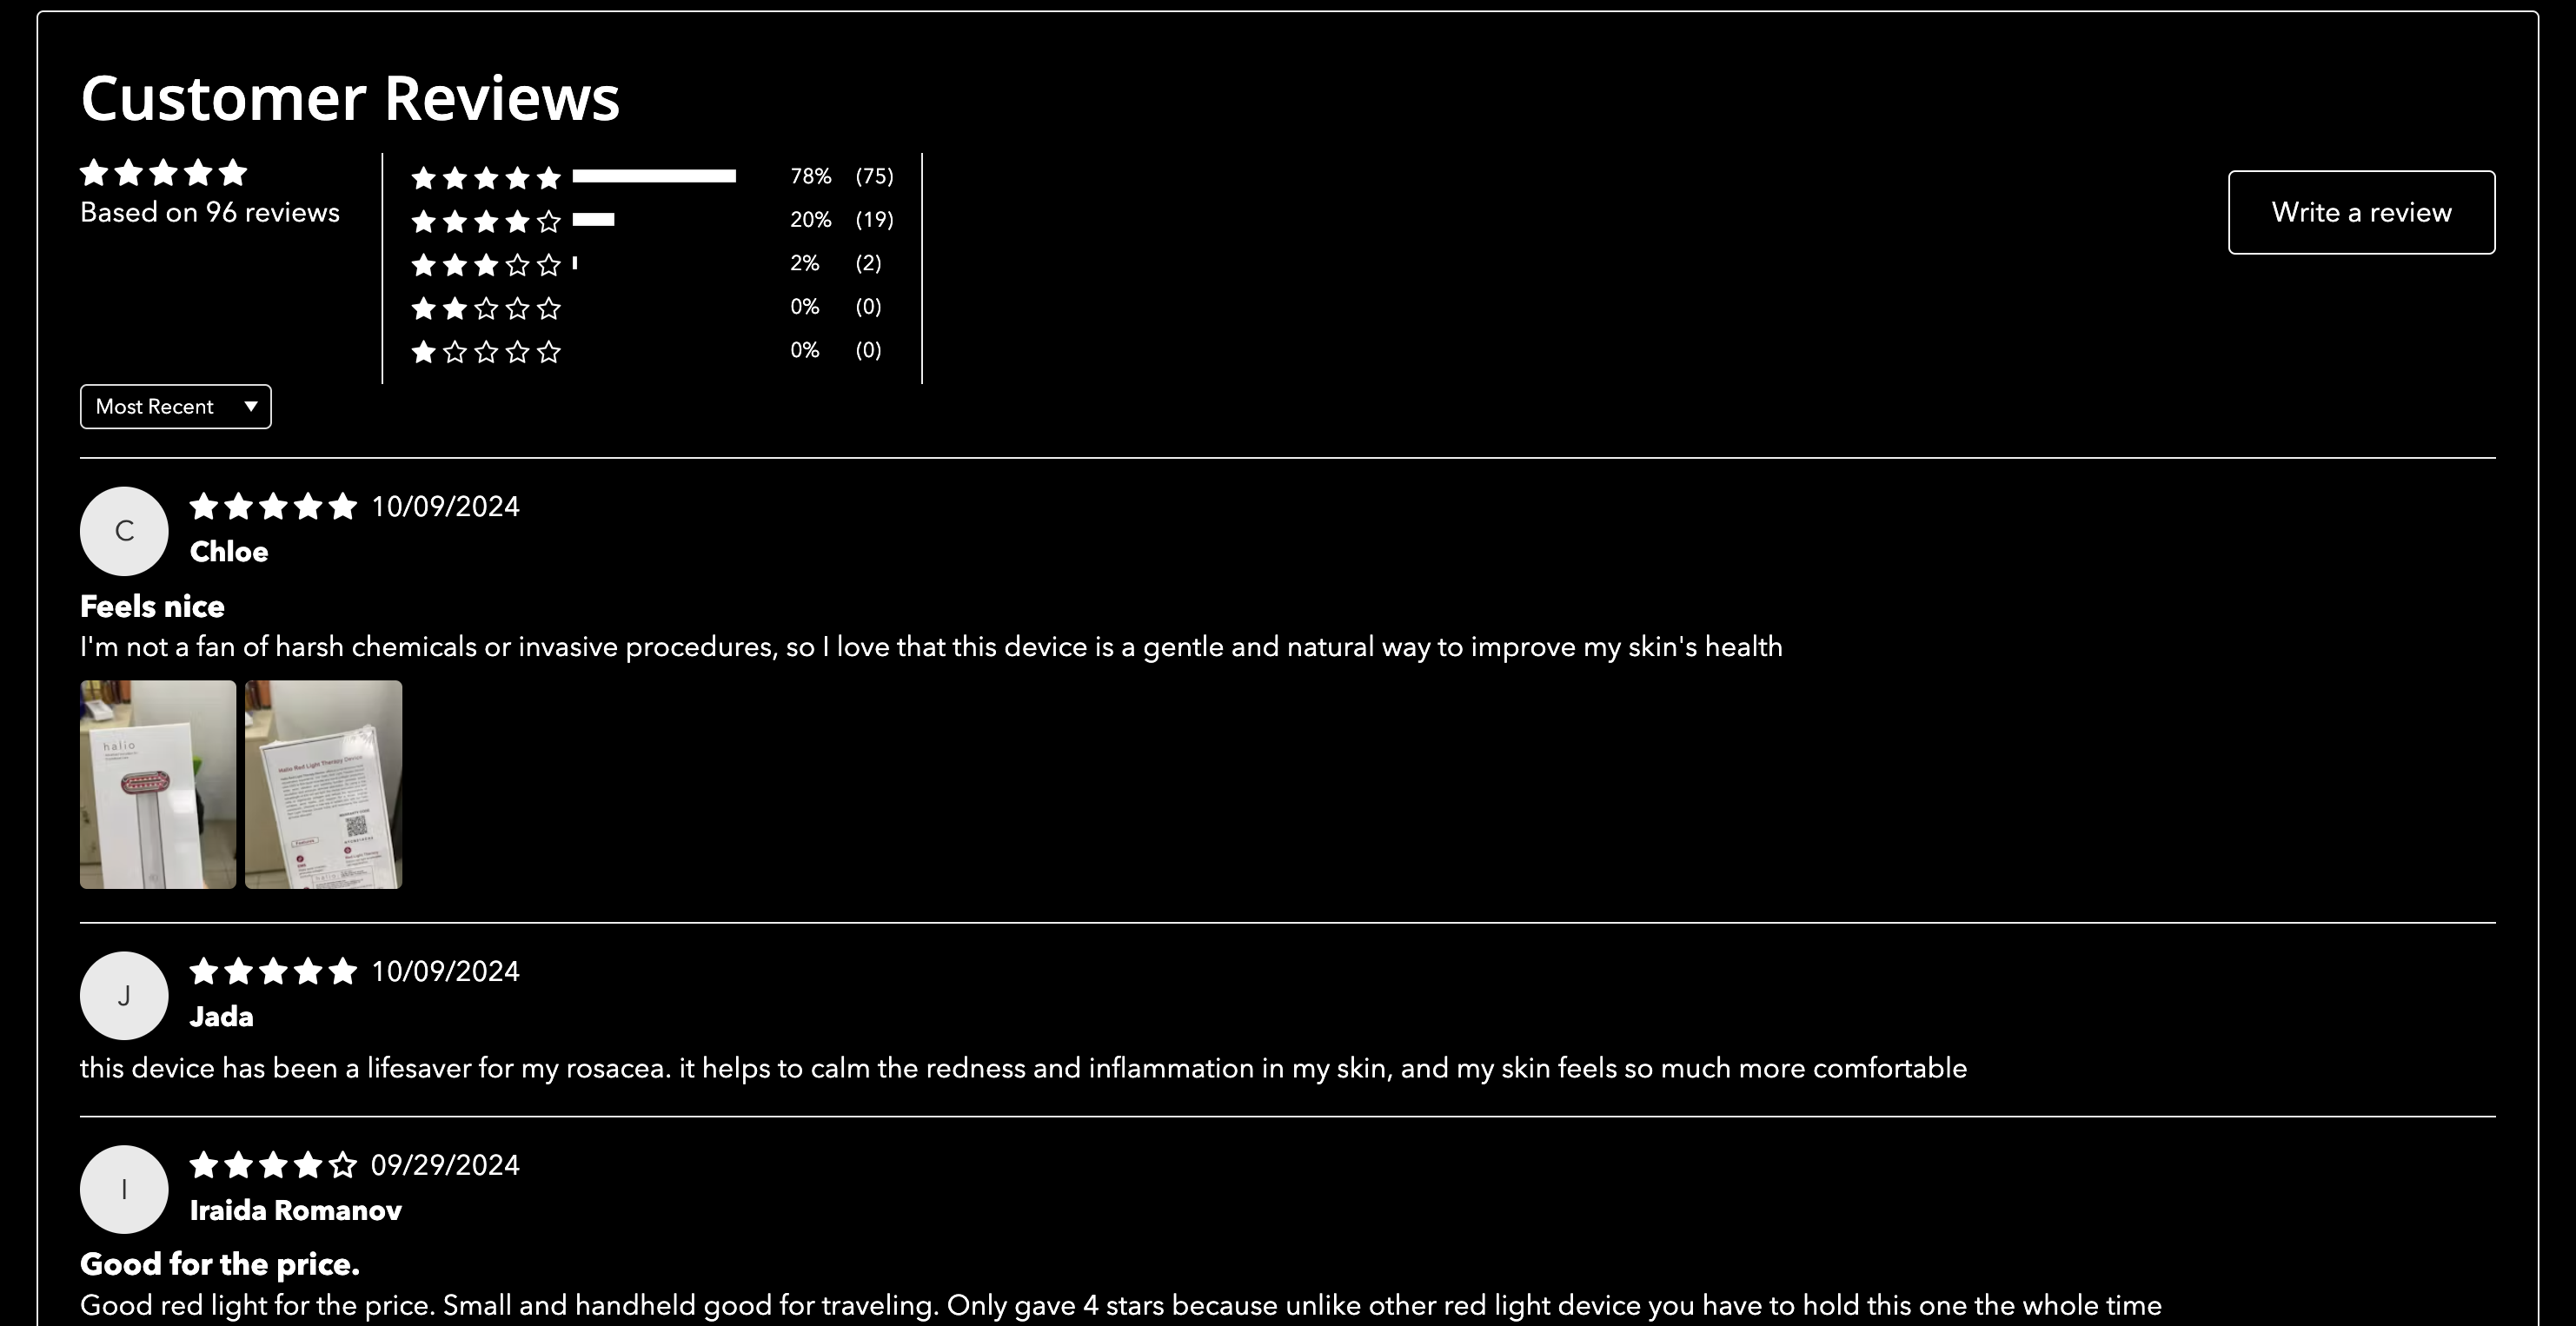
Product reviews
Migration
Step 1: Familiarizing with the new layout
Before starting the migration process, make sure to familiarize yourself with the new layout features. Points to note,
- Each feature is independent and can be enabled/disabled based on the product requirements.
- Theme can be switched anytime between
- Dark Theme (id:
red-light-therapy) - Light Theme (id:
rlt-light) - Legacy Theme (id:
Default product)
- Dark Theme (id:
- You can prepare and upload the content anytime and switch the theme when ready.
Step 2: Familiaring with the Admin Panel Controls
For the migration operation, you'll perform two main tasks.
- Prepare the content for the new layout features and upload them
- Switch the theme to the new layout
On Shopify Admin Panel, you'll be performing the following operations,
Uploading Content
- Go to Shopify Admin Panel and Login.
- Navigate to the product you want to migrate.
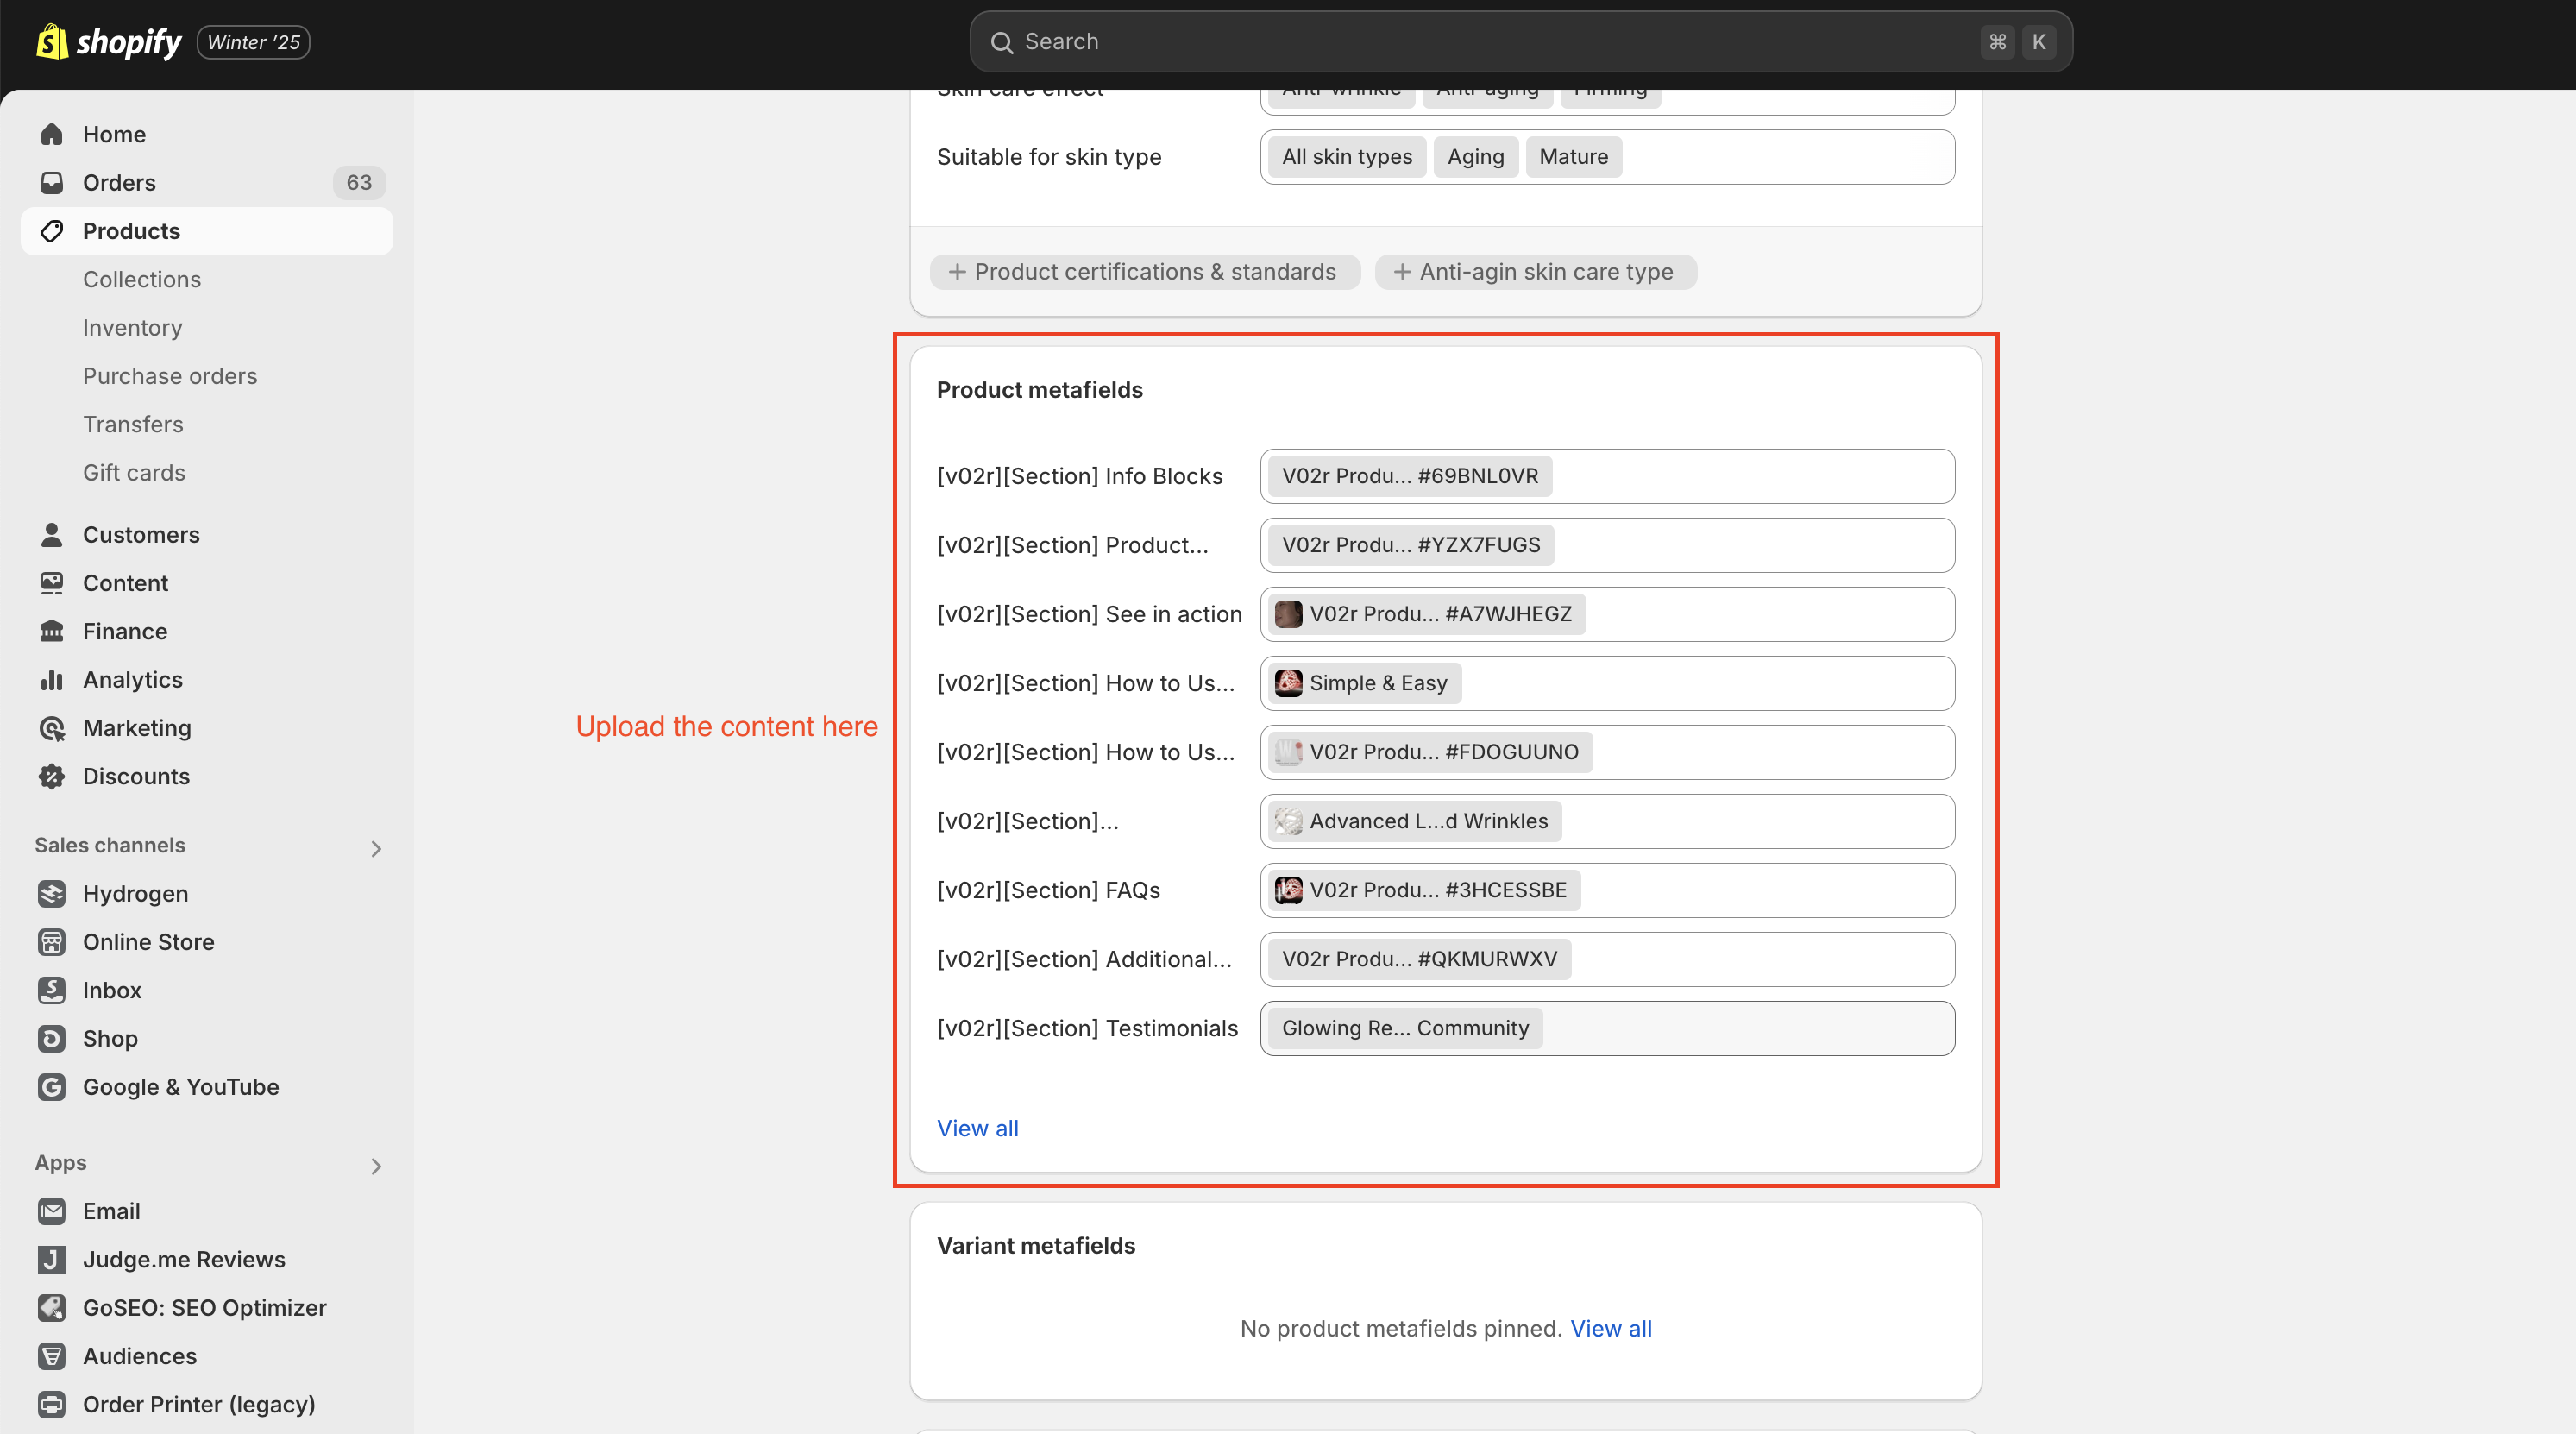
- Scroll down to the "Product metafields" section.
- All the new layout features can be controlled by using the following metafields,
[v02r][Section] Info Blocks[v02r][Section] Product Highlights[v02r][Section] See in action[v02r][Section] How to Use - Steps[v02r][Section] How to Use - Video Instruction[v02r][Section] Technologies[v02r][Section] FAQs[v02r][Section] Additional Details[v02r][Section] Testimonials
Switching Theme
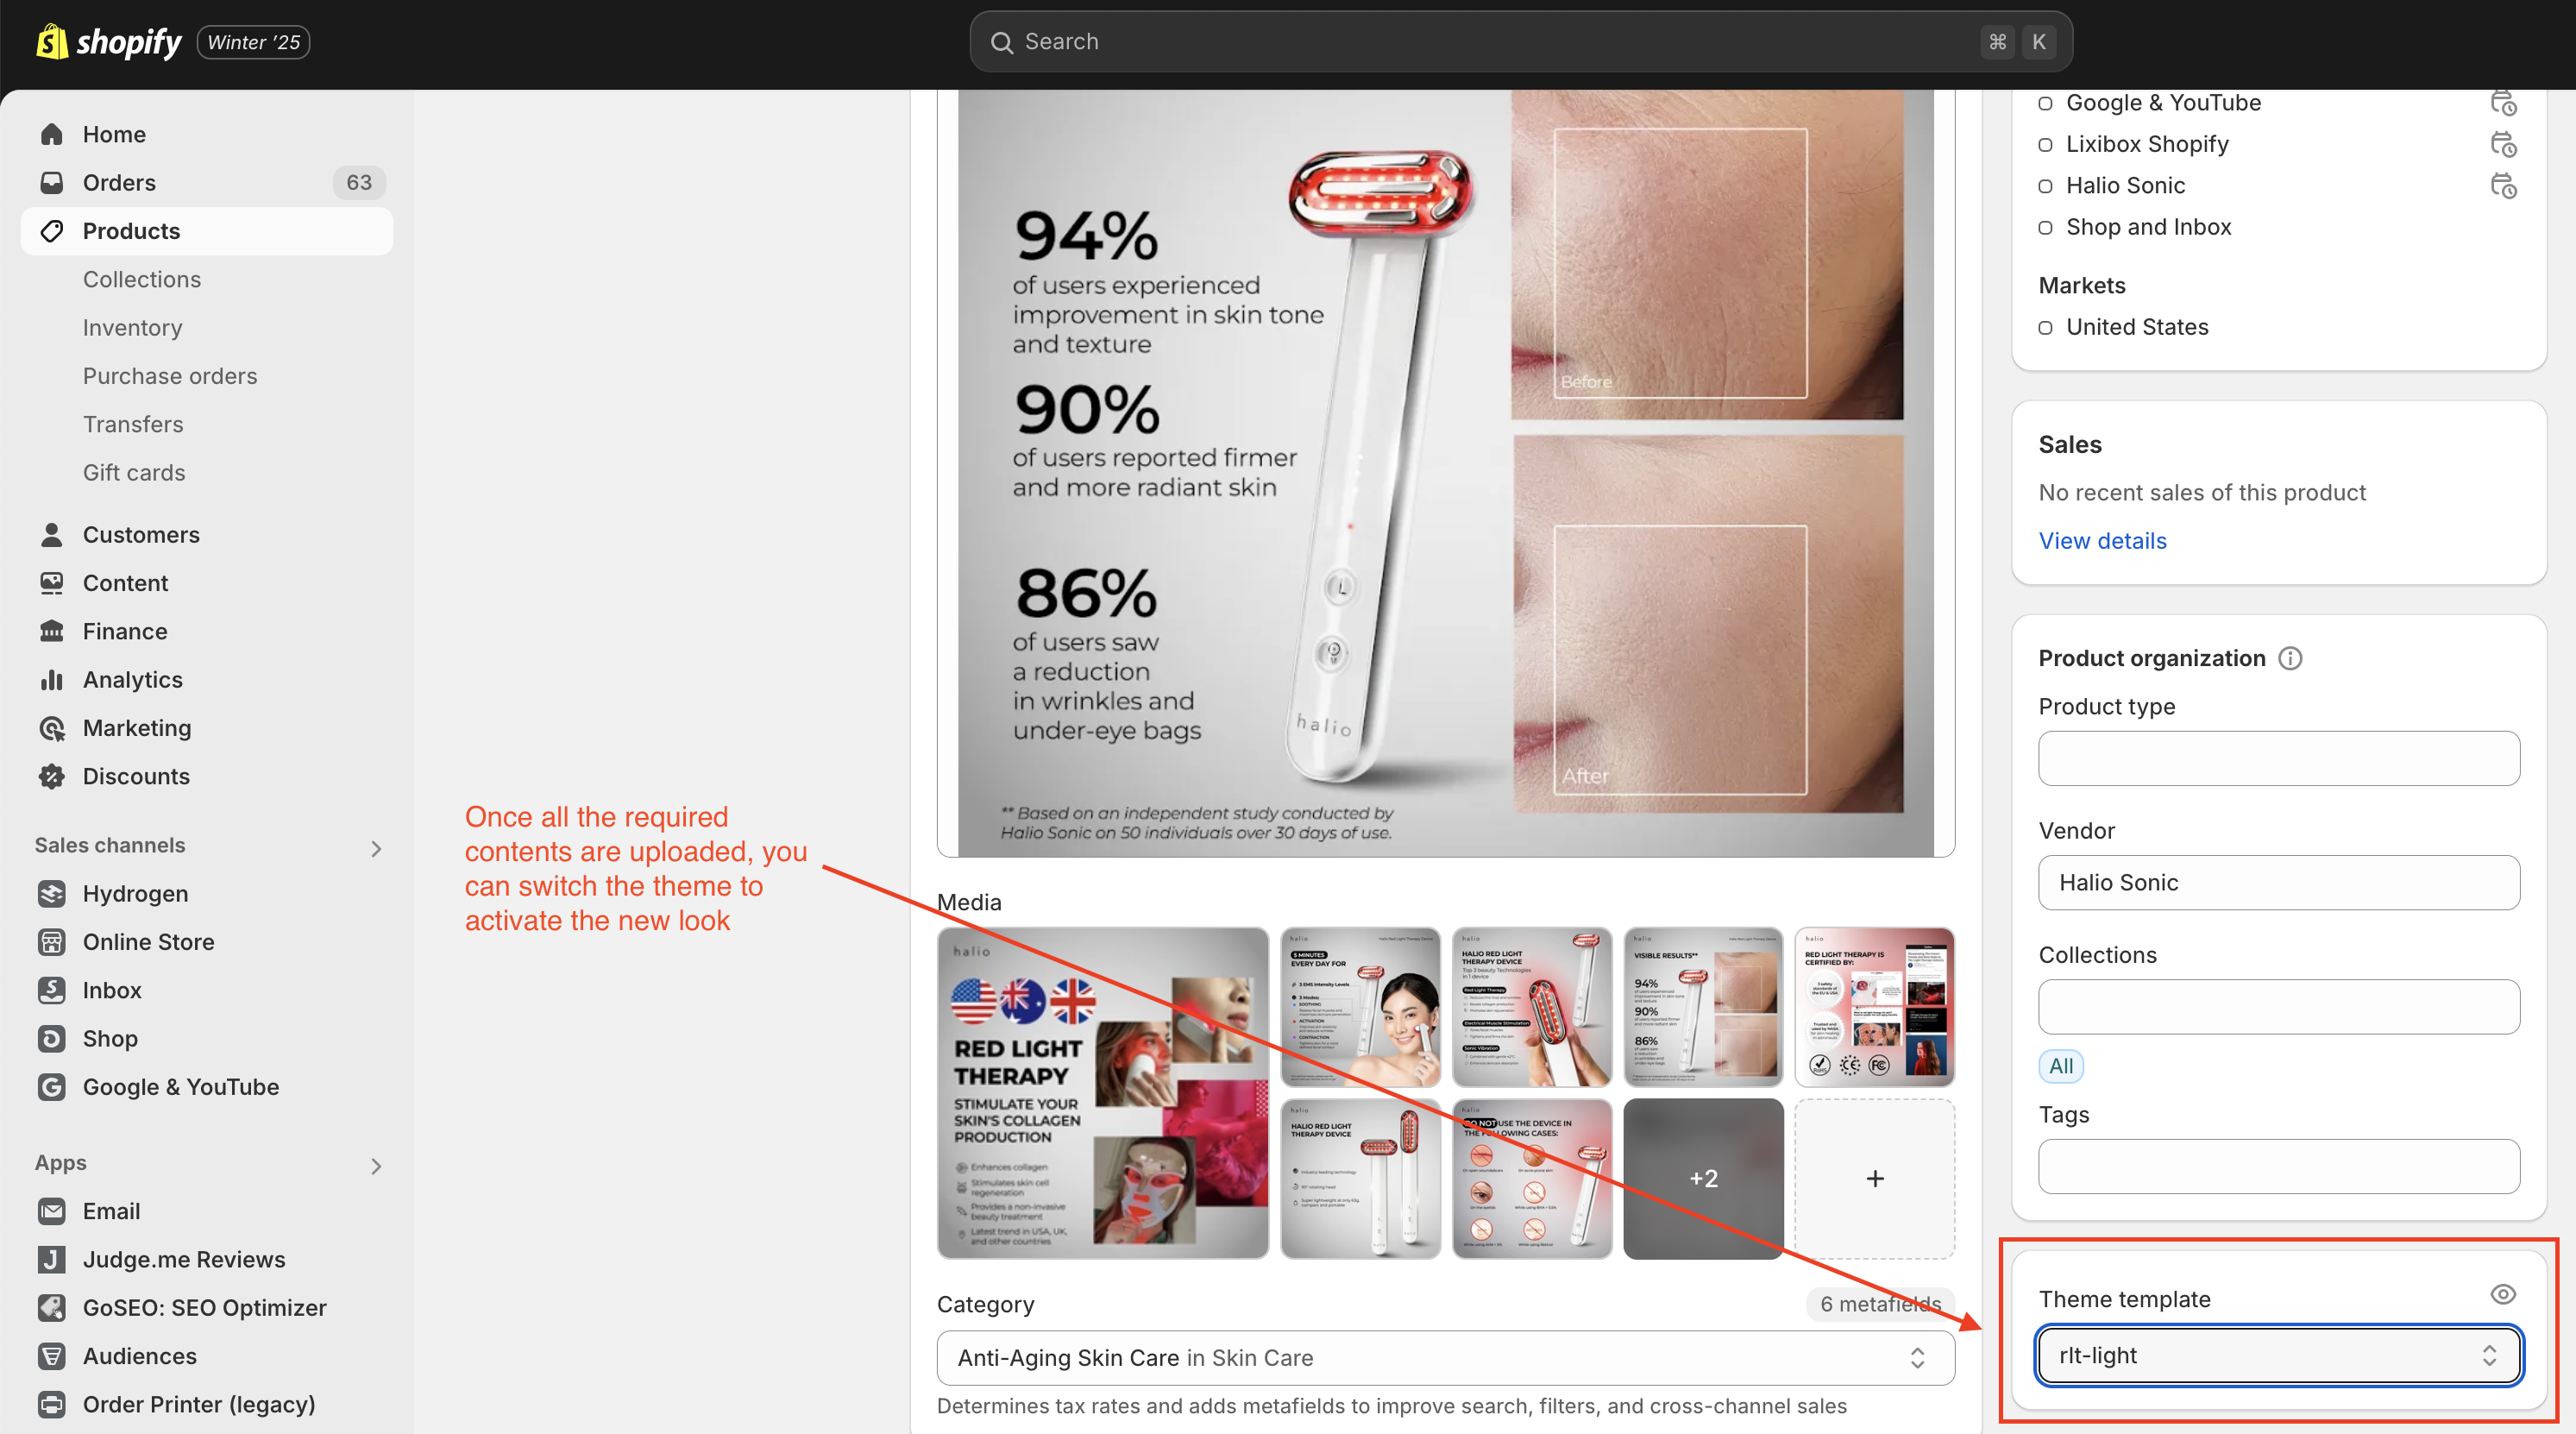
Themes can be switched anytime. To switch the theme,
-
Go to Shopify Admin Panel and Login.
-
Navigate to the product you want to migrate.
-
Scroll down to the "Theme template" section on the right panel.
-
Select the theme you want to switch to.
Step 3: Prepare the Content and Upload
First, determine which features do you want to enable for the product. Then, prepare the content for the selected features and upload them using the metafields. Below are the steps to prepare and upload the content for each feature.
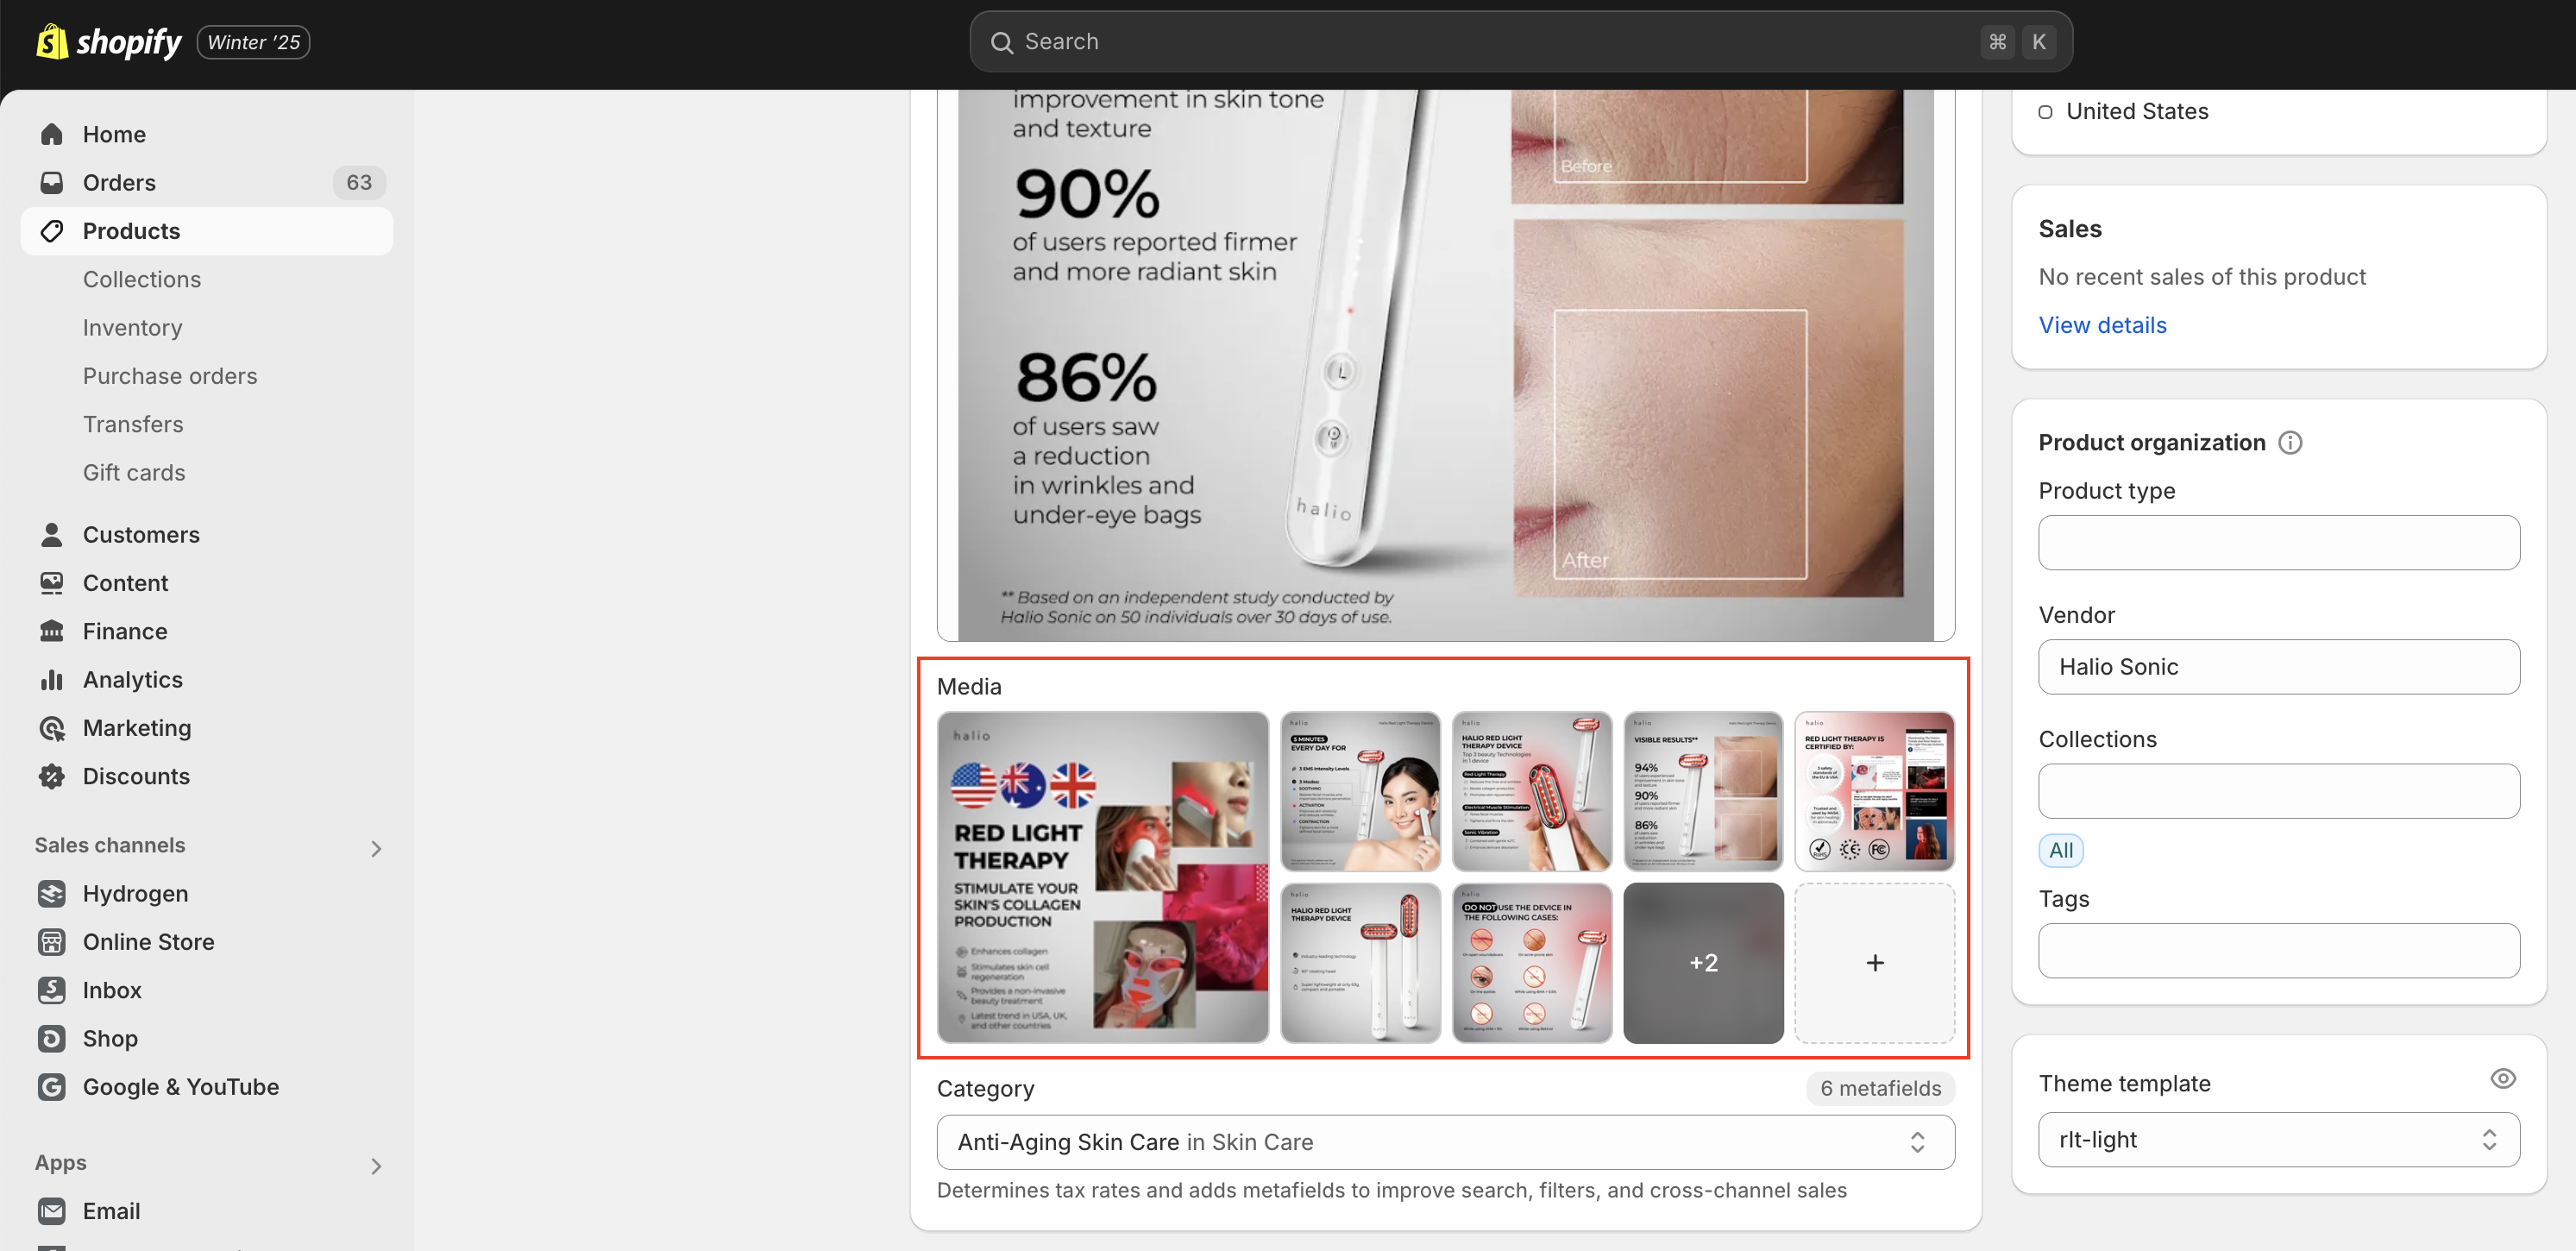
Image gallery with zoom and autofollow
-
Prepare the images for the gallery.
- Image specification
- Resolution: 3840x3840 px
- Format: WebP
- Image specification
-
Upload the image and make sure that
- Image order is correct
warningFirst image in the gallery is the primary product image and will be displayed as the cover image and thumbnail
Product info and KSP brief
- Prepare product information
- Rich text (allows bold, italic, bullets, links, etc.)
- Length: 50 - 150 words
- Should include product highlights
- Prepare KSPs
- Prepare a sensible number of KSPs
- For each KSP, prepare
- A title
- Length: Up to 50 characters
- An icon
- Resolution: 512x512 px
- Format: WebP
- A title
- Upload the content to
[v02r][Section] Product Highlightsproduct metafield as in the screenshot below.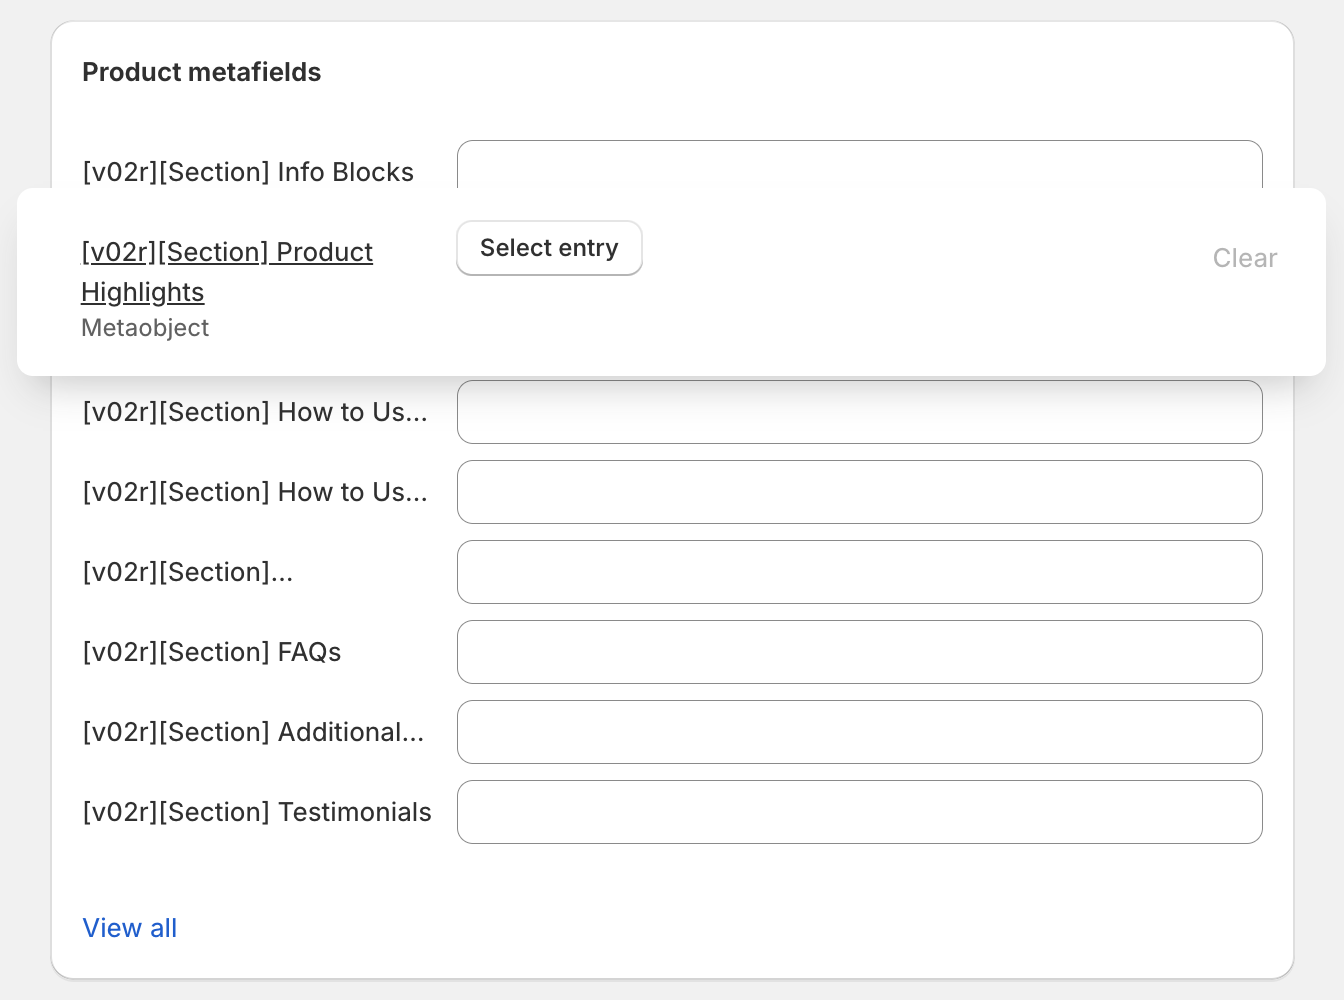
See in action video gallery
- Prepare the videos for the gallery.
- Video specification
- Resolution: 1080x1920 px
- Format: WebM
- Video specification
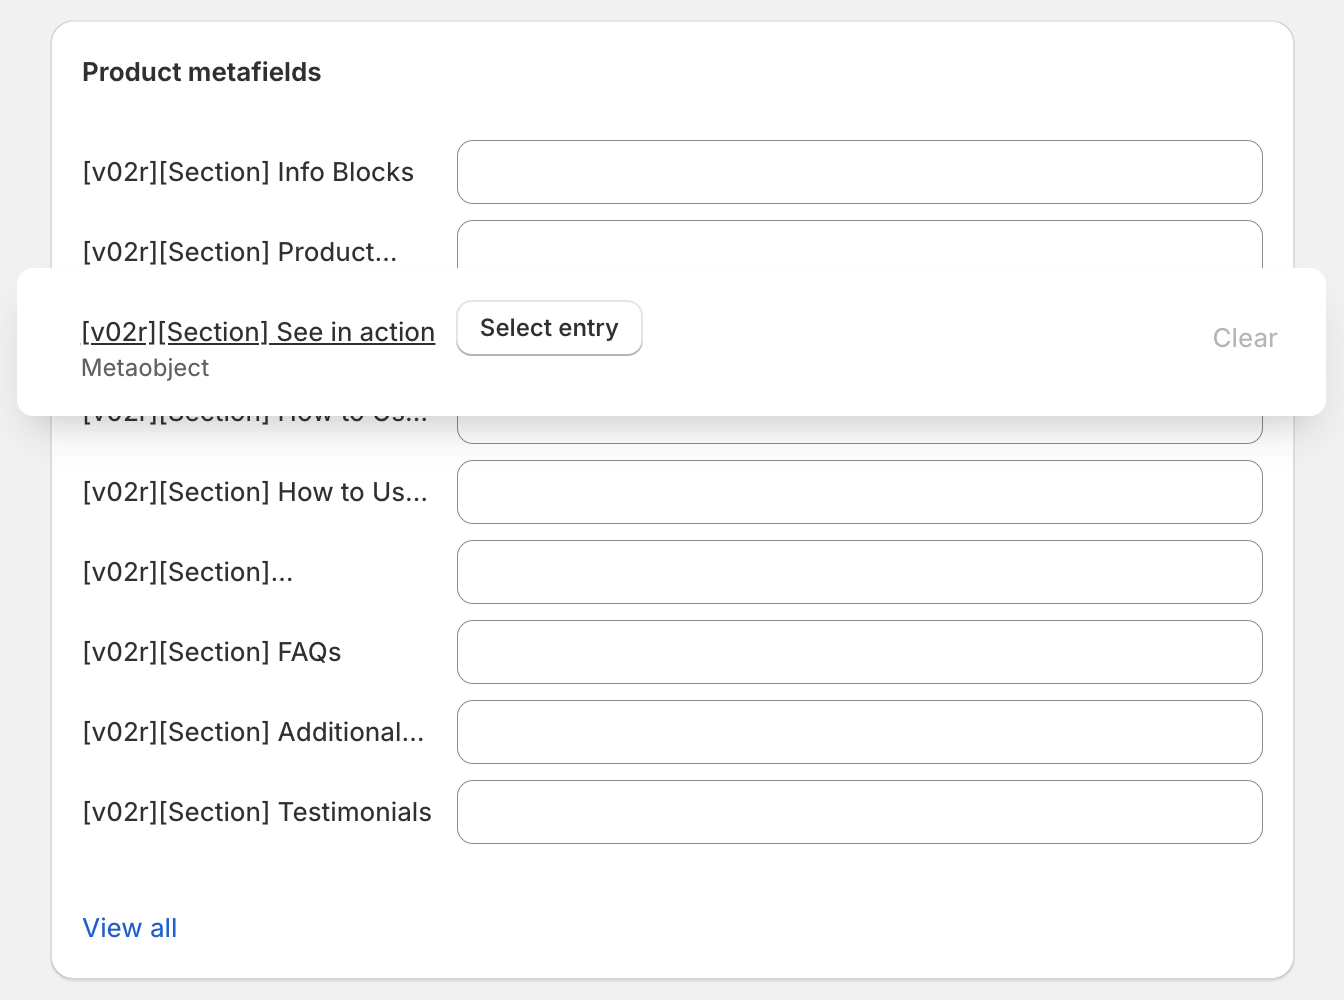
- Upload the videos to
[v02r][Section] See in actionproduct metafield as in the screenshot below and make sure the following- Alternate text is provided for each video (impacts SEO).
- Video name is meaningful and reflects the content (impacts SEO).
- Video order is correct
Expandable product info tabs
- Prepare info blocks. For each block, prepare
- A title
- Length: Up to 50 characters
- Content
- Rich text (allows bold, italic, bullets, links, etc.)
- Length: Up to 500 words
- A title
- Upload the content to
[v02r][Section] KSP Highlightsproduct metafield as in the screenshot below.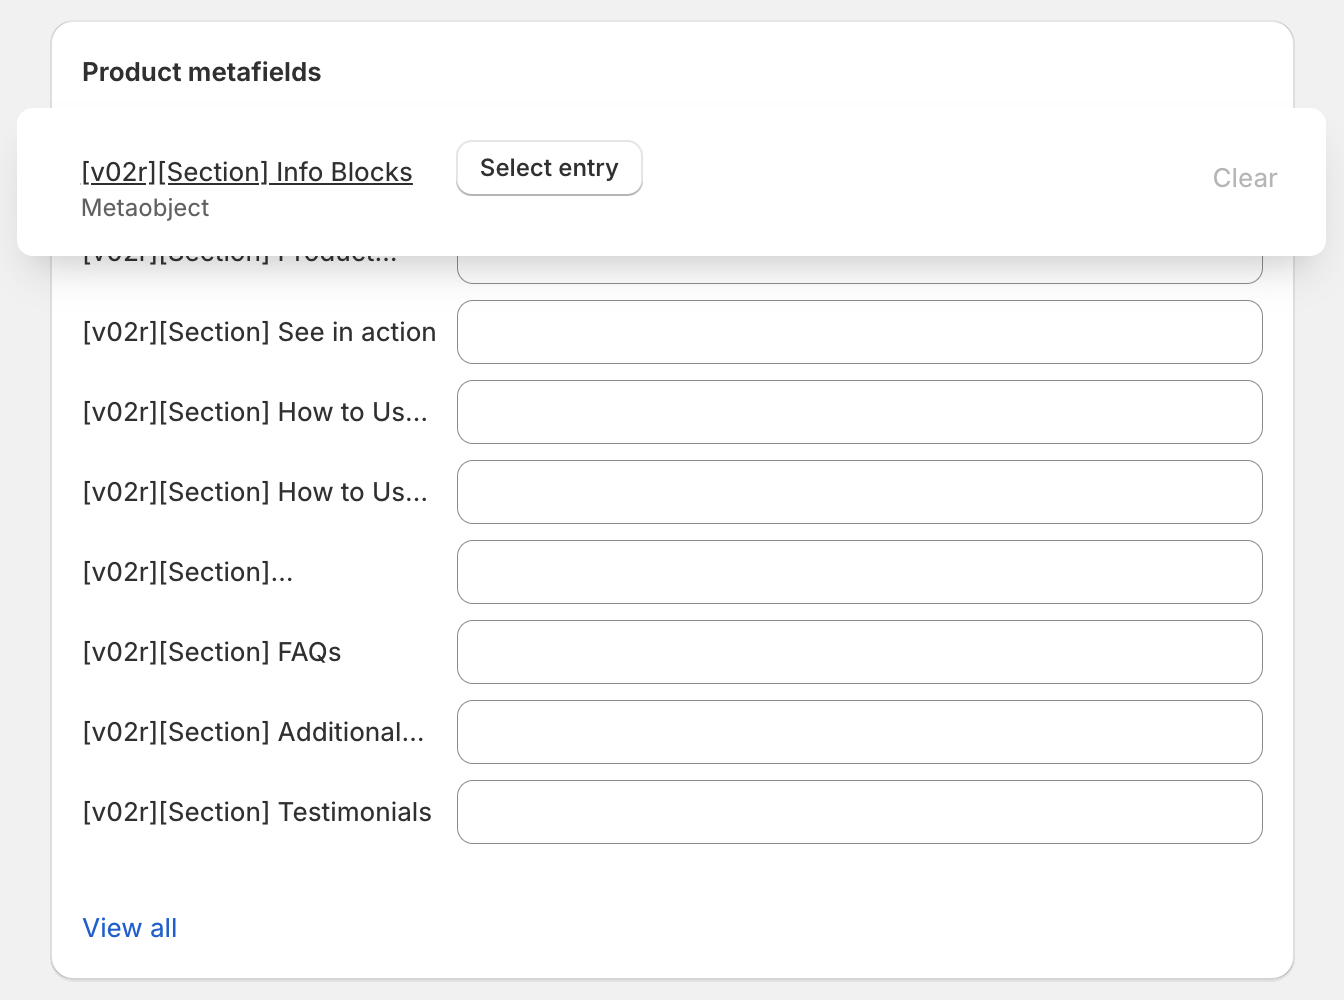
"How to use" video
- Prepare the "How to use" video
- Video specification
- Resolution: 1920x1080 px
- Format: WebM
- Video specification
- Upload the content to
[v02r][Section] How to Use - Video Instructionproduct metafield as in the screenshot below.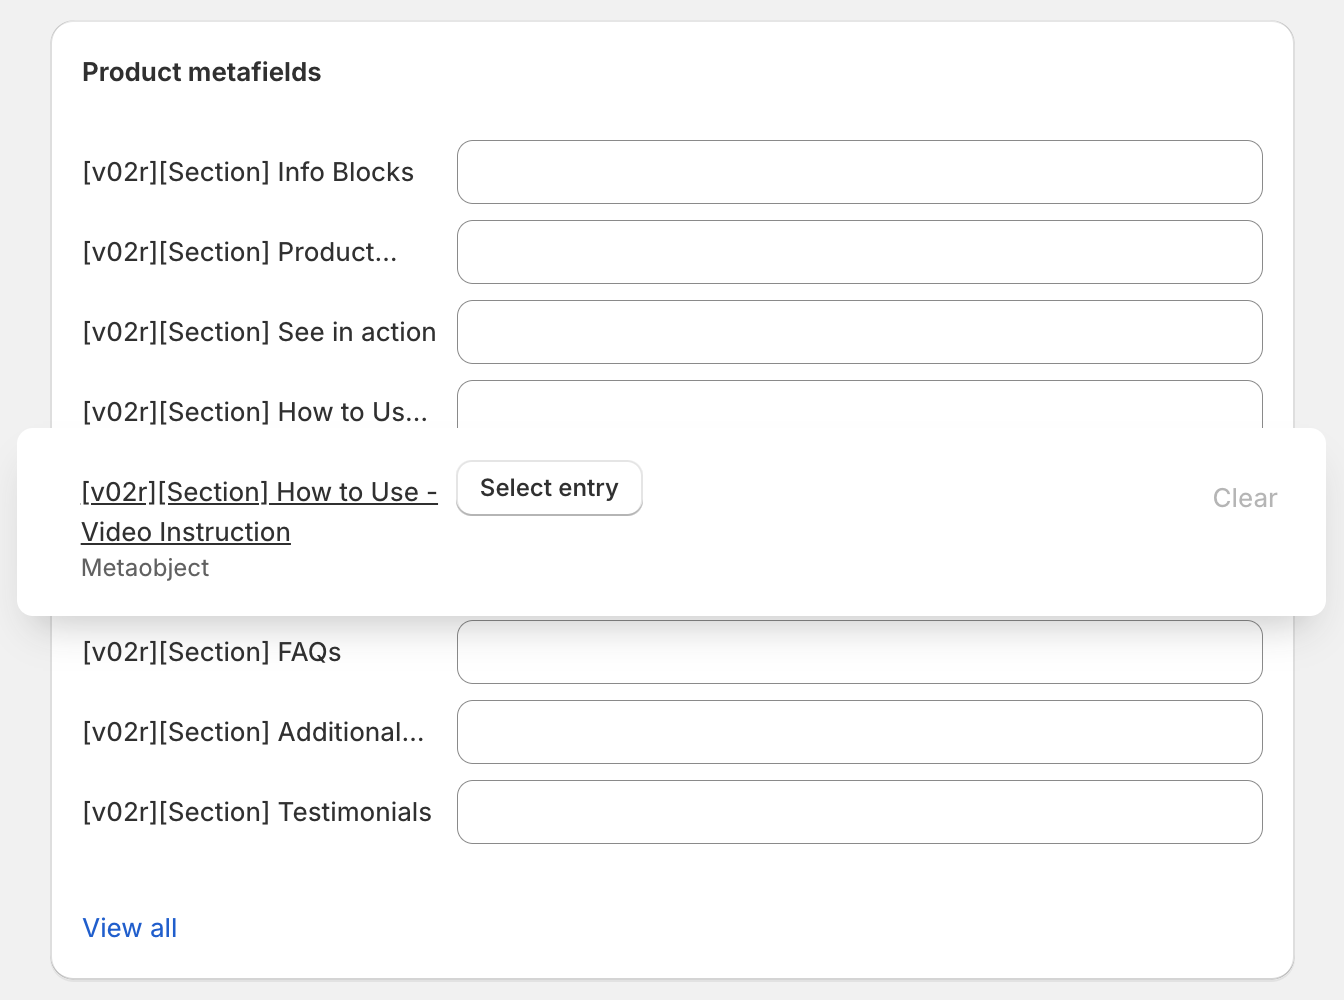
"How to use - steps" with background image
- Prepare the usage steps. For each step, prepare
- An idenfitier (e.g., STEP 1, STEP 2, etc.)
- Title (e.g.: "Turn on")
- Hint: Make the title short (1 - 3 words) and descriptive
- Description
- Plain text
- Length: Up to 150 characters
- Prepare a "Title" (tagline) for the section (e.g., "How to use", "Simple & Easy", ...)
- Length: Up to 30 characters
- Prepare a background image for the section
- Image specification
- Resolution: 3000x1500 px
- Format: WebP
Tip for the Art Team: Background image will be displayed under a black overlay with 60% opacity. - Image specification
- Upload the content to
[v02r][Section] How to Use - Stepsproduct metafield as in the screenshot below.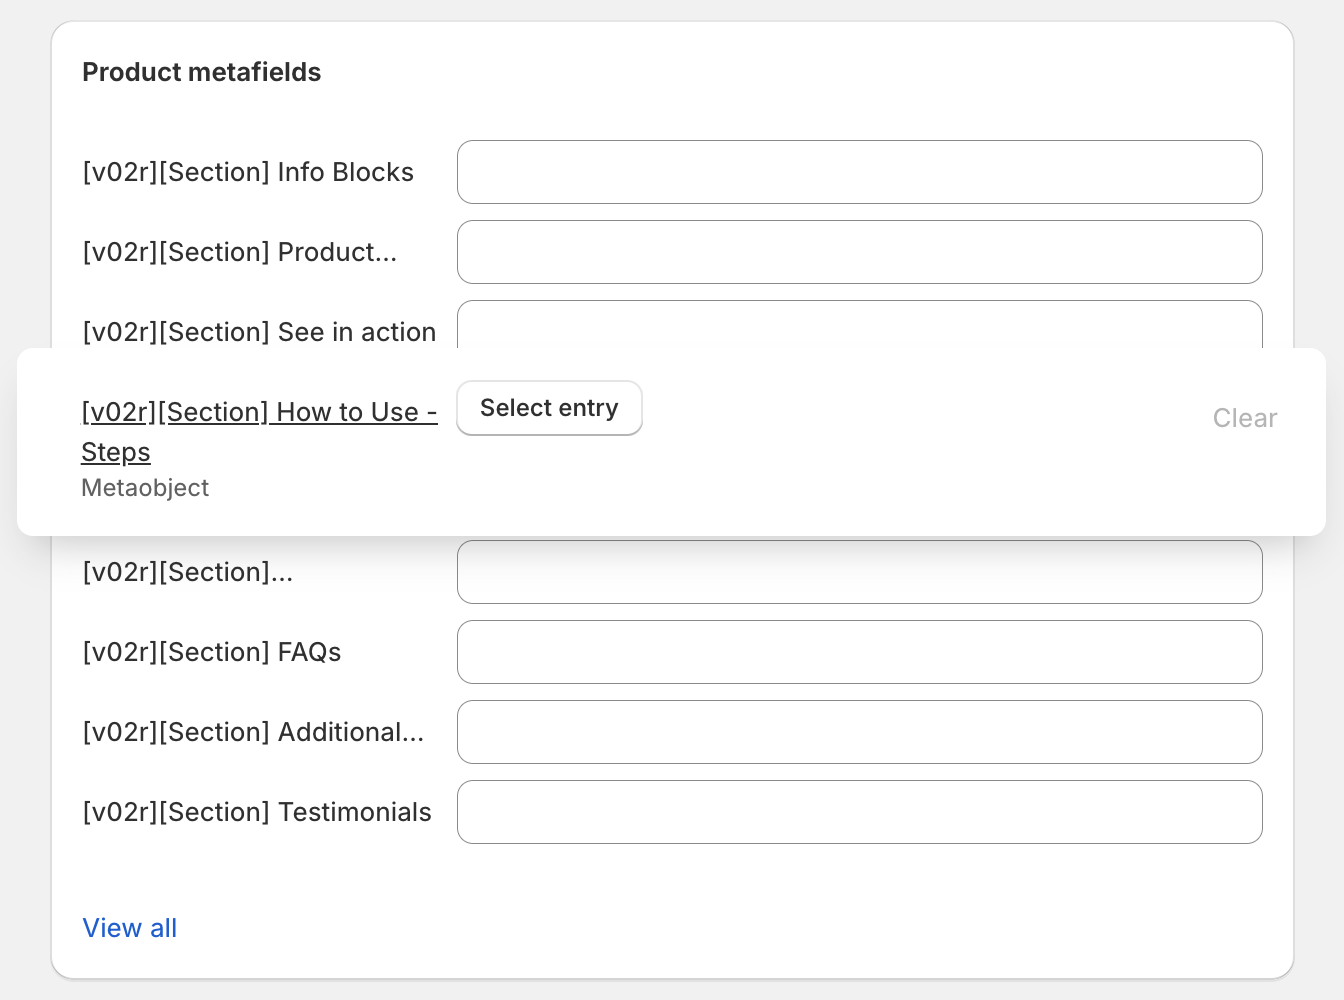
KSP section with tagline and KSP highlights
- Prepare a title (tagline) for the section
- Length: Up to 80 characters
- The tagline should give a one-liner catchy highlight about the technology or ingredient in the product.
- Prepare an illustraction to accompany with the section
- Image specification
- Resolution: 2460x2460 px
- Format: WebP
- Background: Transparent
- Product positioning
- Horizontal: Center
- Vertical: Top
- Spacing: No padding
- Image specification
- "Learn more" link (optional)
- Link to a page that provides more information about the technology or ingredient
- You may prepare a page on the website or link to an external source. Follow the guidelines below to prepare a page.
- Prepare technology or ingredient KSP highlights. For each KSP, prepare
- A title (Technology or ingredient name)
- Length: Up to 50 characters
- Description (optional)
- Plain text
- Length: Up to 120 characters
- Tags (optional)
- A list of tags that describe the technology or ingredient
- For each tag, prepare
- A name
- Length: Up to 50 characters
- An icon
- Resolution: 100x100 px
- Format: WebP
- A name
- A title (Technology or ingredient name)
- Prepare an illustration to accompany the section
- Image specification
- Resolution: 2460x2460 px
- Format: WebP
- Background: Transparent
- Image specification
- Upload the content to
[v02r][Section] Technologiesproduct metafield as in the screenshot below.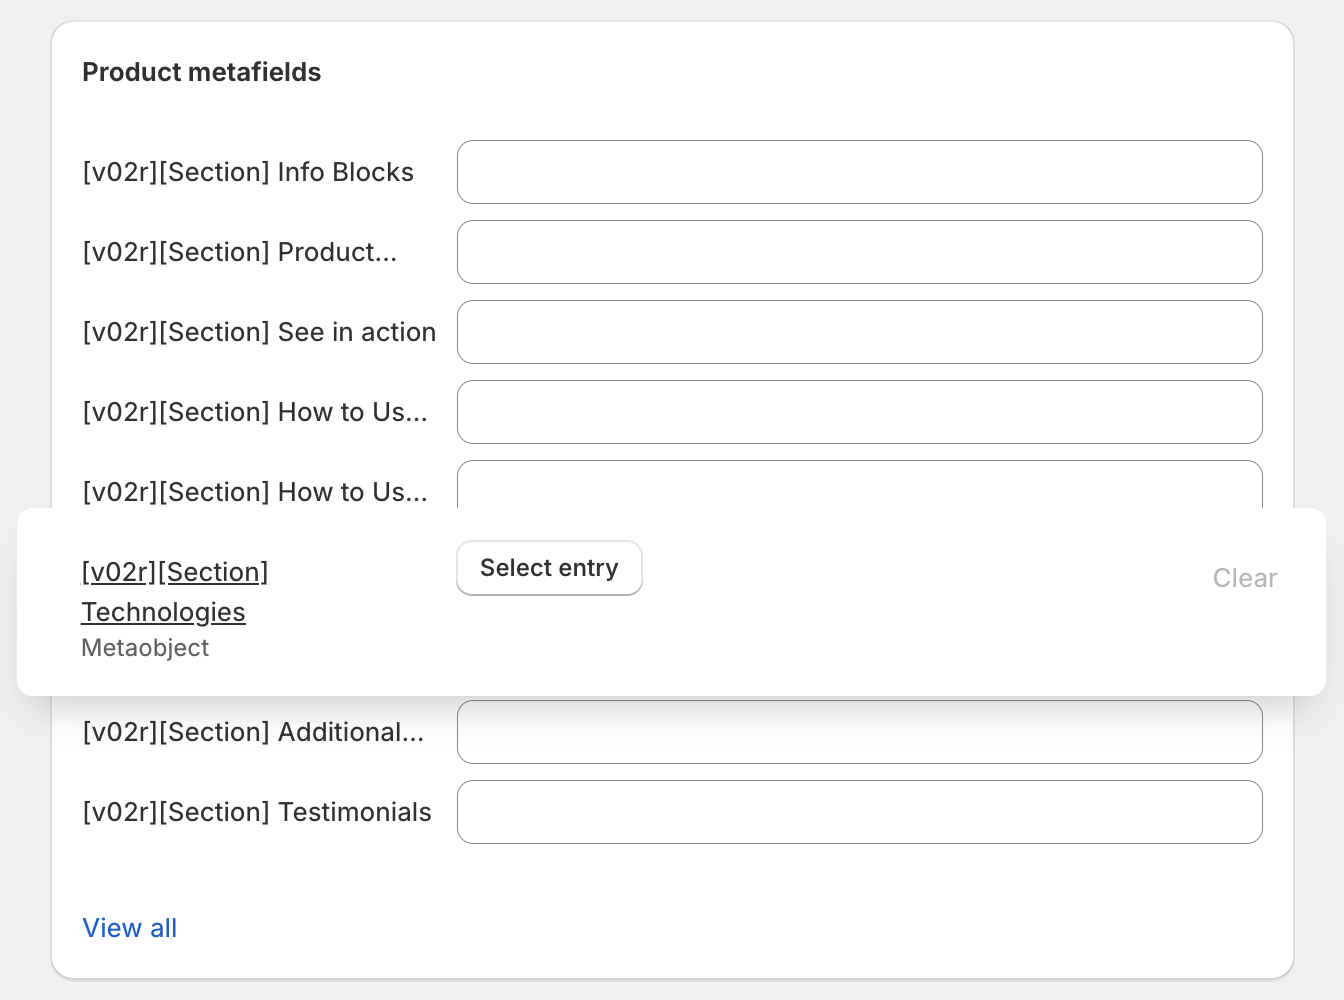
Expandable FAQ section with rich text and image
- Prepare the FAQ content. For each FAQ, prepare
- A question
- Length: Up to 100 characters
- An answer
- Rich text (allows bold, italic, bullets, links, etc.)
- Length: Up to 500 words
- A question
- Prepare an illustration to accompany the section
- Image specification
- Resolution: 2460x2460 px
- Format: WebP
- Background: Transparent
- Image specification
- Upload the content to
[v02r][Section] FAQsproduct metafield as in the screenshot below.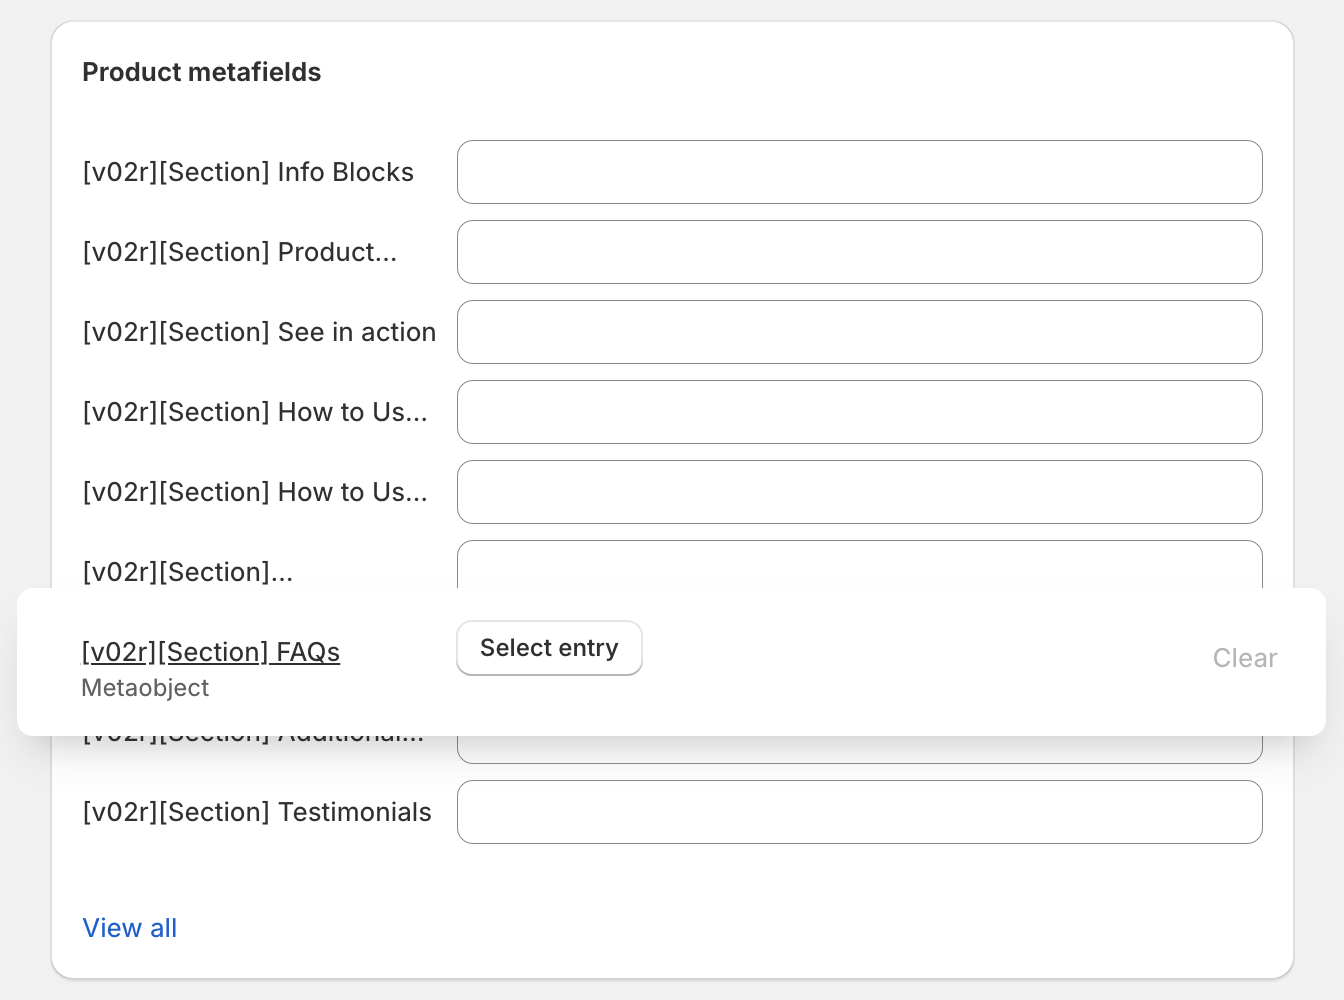
Additional details section with expandable rich text blocks
- Prepare the content for the additional details section. Multiple blocks are supported (e.g. "Specification", "Troubleshooting", ...). For each block, prepare
- A title (e.g., "Specification", "Troubleshooting", ...)
- Length: Up to 50 characters
- Content
- Rich text (allows bold, italic, bullets, links, etc.)
- Length: Up to 500 words
- Hint: Bullet points are recommended for better readability.
- A title (e.g., "Specification", "Troubleshooting", ...)
- Upload the content to
[v02r][Section] Additional Detailsproduct metafield as in the screenshot below.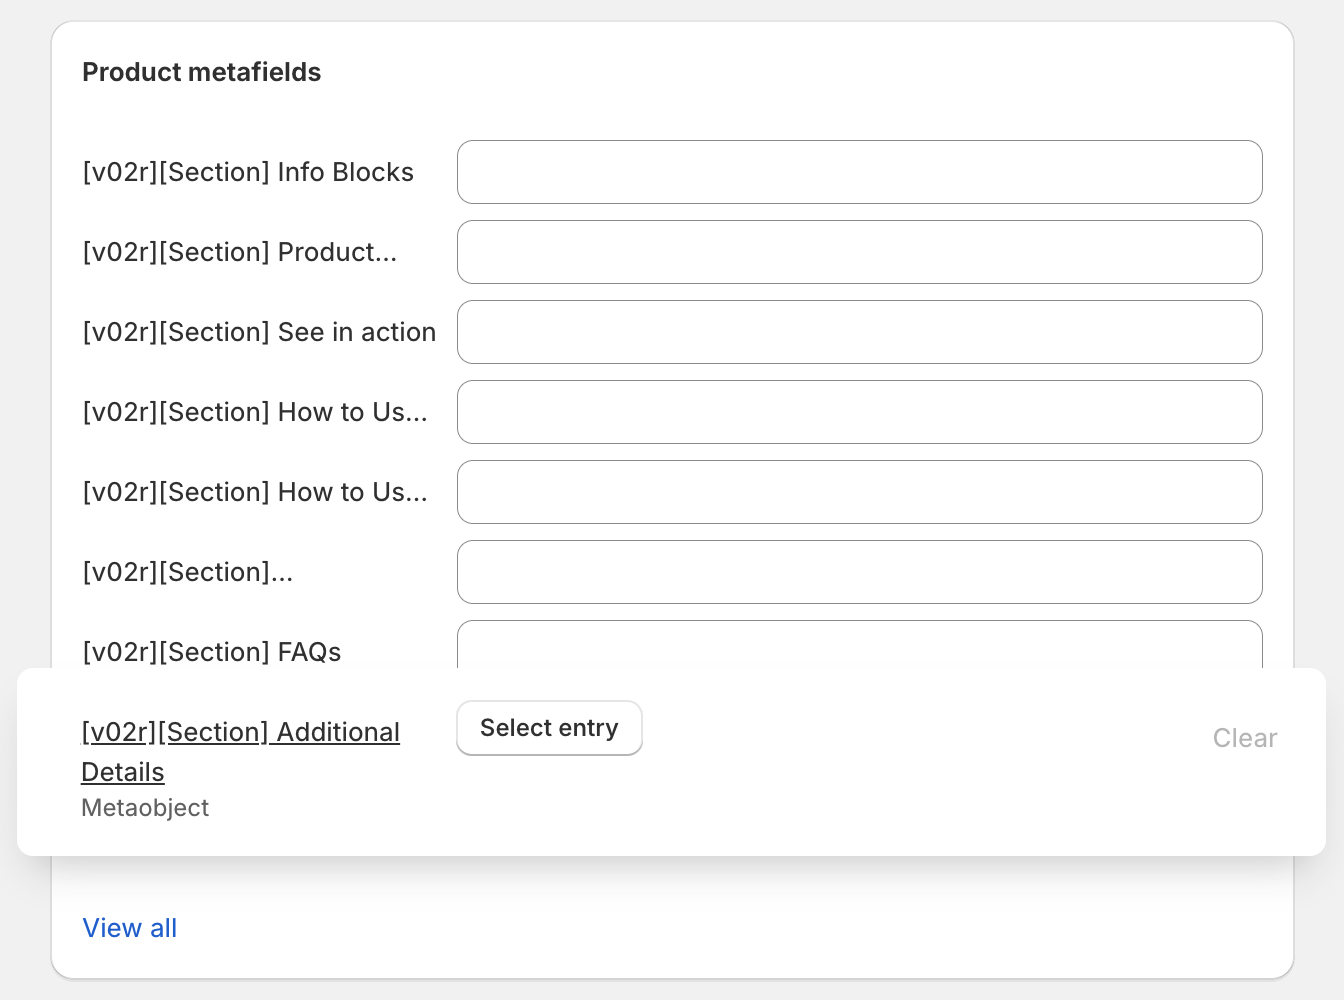
Testimonial highlights
- Prepare a section title (Tagline) (e.g., "What our customers say", "Customer reviews", "Glowing Reviews from Our Community", ...)
- Prepare testimonials. For each testimonial, prepare
- A rating
- A number between 1 - 5
- Testimonial content
- Length: Up to 300 characters
- Author (e.g. "John Doe", "Elizabeth Wissinger (Wearable Technology Expert)", ...)
- Length: Up to 50 characters
tipTry to make the testimonial lengths consistent for better visual appeal (e.g. all testimonials are around 3 lines long).
- A rating
- Upload the content to
[v02r][Section] Testimonialsproduct metafield as in the screenshot below.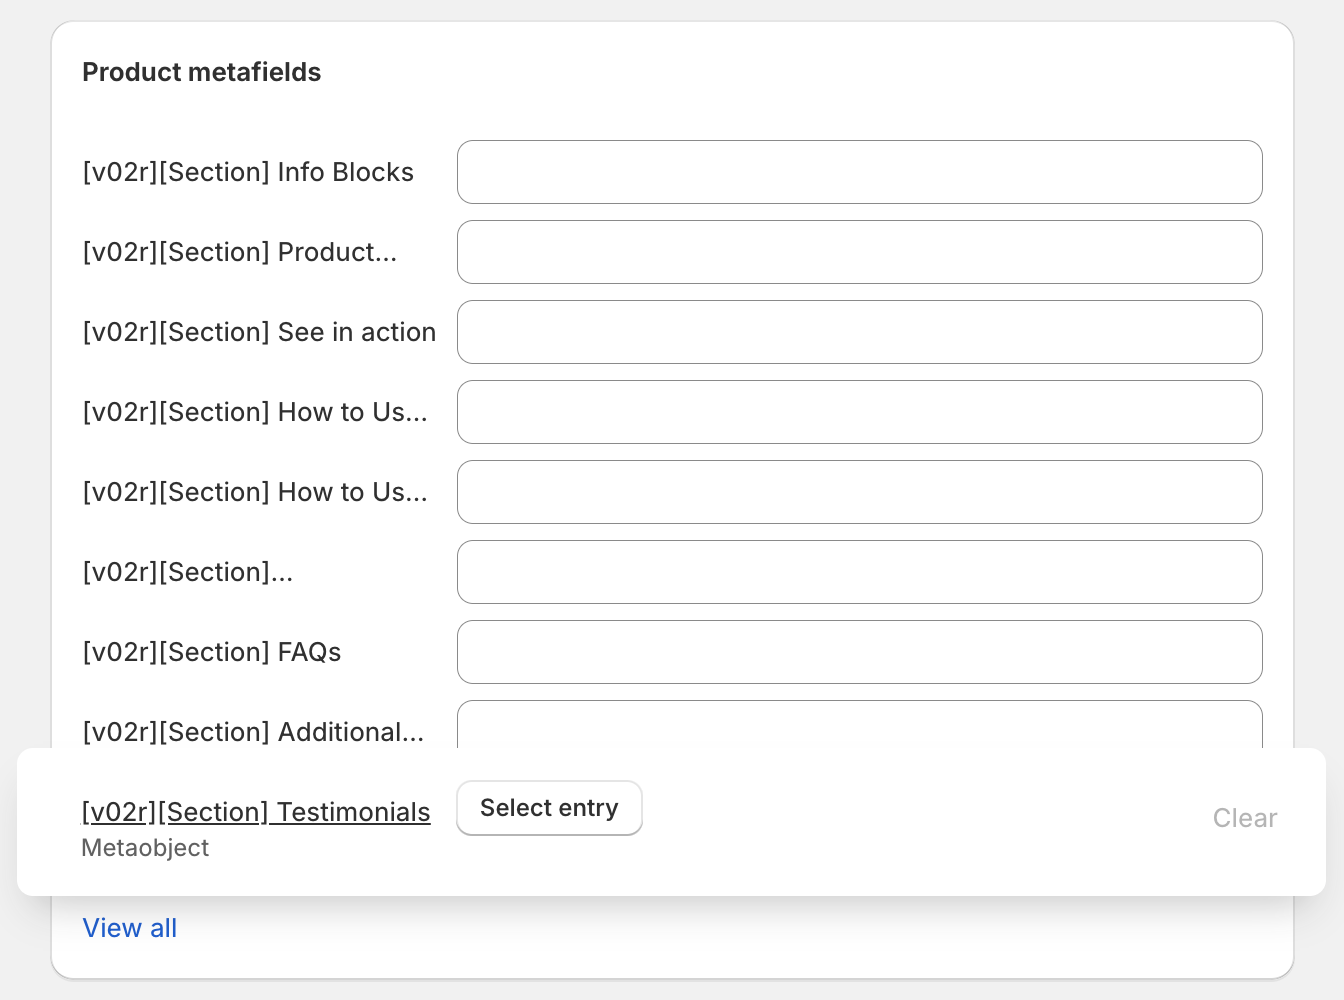
Step 4: Enable the New Layout
- Go to Shopify Admin Panel and Login.
- Navigate to the product you want to migrate.
- Scroll down to the "Theme template" section on the right panel.
- Select the
red-light-therapy(dark) orrlt-light(light) theme. - Save the changes (using the "Save" button at the bottom of the page).